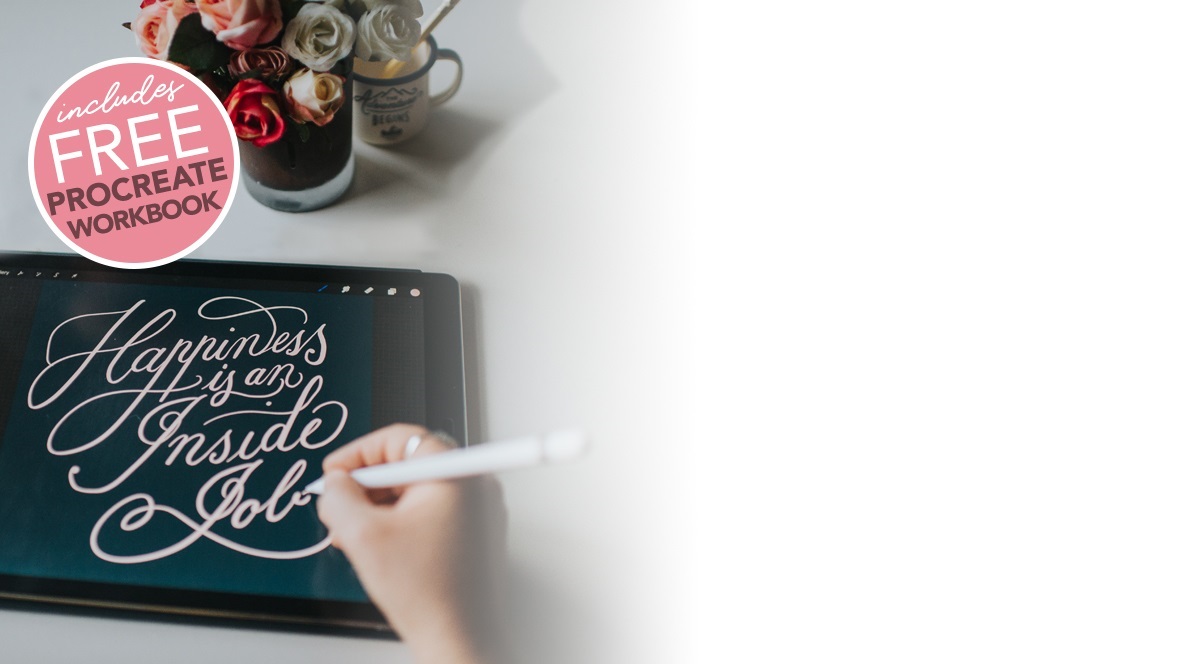
Today’s Procreate tutorial shows how you can quickly and easily create diagonal line shading for your lettering, giving a vintage feel to your work. This technique has a classic style and is perfect for embellishing large size lettering pieces.
If you were to create this by hand, you would need to paint each individual line one-by-one, getting the angles and spacing right. Not only would this take a lot of time, but would surely have you seeing double after a couple of letters!
You’ll be happy to hear there’s a brush for that! You’ll be even happier to hear you can download it for FREE along with 5 other handy texture brushes in the Texture Toolkit sample pack! Go ahead and do that first, and then we can move on to the tutorial.
Got your brushes ready? Great! Watch the video below for a demo using your new ‘Diagonal Shader’ brush (included in the download).


Learn Calligraphy
on the iPad
from Scratch!
Create stunning calligraphy in Procreate with no experience or special tech skills (even if you have messy handwriting and don’t think you’re creative enough)
WATCH THE FREE WORKSHOPPlease Note: if you are downloading the zip file straight on your iPad, you will see a blank browser screen while it loads. It may take some time depending on your internet connection speed. For help installing in Procreate, see this video.

Bernardine
Thank yo fot brushes & tut!
Nicole Mauloni
Thanks for watching Bernardine. Glad you like them 🙂
Melinda
Nice! Thank you for the easy tutorial and awesome brushes! 😃
Nicole Mauloni
You are so welcome! Thanks Melinda 🙂
Gina
Thank you for the brushes and tutorial!
Nicole Mauloni
You are most welcome Gina. So glad you like them!
Gina
Thank you so much!