——–UPDATE: Procreate now includes the ability to create text right inside the app. See here for more details! ——–
Something I know a lot of people are hoping will be included in a future release of Procreate, is the ability to create text. There have been many requests for this on the Procreate Forum, and Savage have unofficially confirmed it *IS* on the roadmap. Until then though, it’s handy to know a workaround for those times you need to quickly and easily bring text into a design, rather than relying on your hand lettering skills.
In this post, we are going to look at 4 popular iPad Apps that give you the ability to add text to your Procreate designs : Over, Graphic, Vectornator & Affinity Designer.
Trying all these apps individually would be very time consuming. To save you the trouble, I’ve compared some of the important features. I’ll also go through the steps on how to create text for Procreate using each different app.
There is a free PDF download under each section with step-by-step instructions (including images), in case you would like more details or save to review later.

Learn Calligraphy
on the iPad
from Scratch!
Create stunning calligraphy in Procreate with no experience or special tech skills (even if you have messy handwriting and don’t think you’re creative enough)
WATCH THE FREE WORKSHOPOver
Is it free?
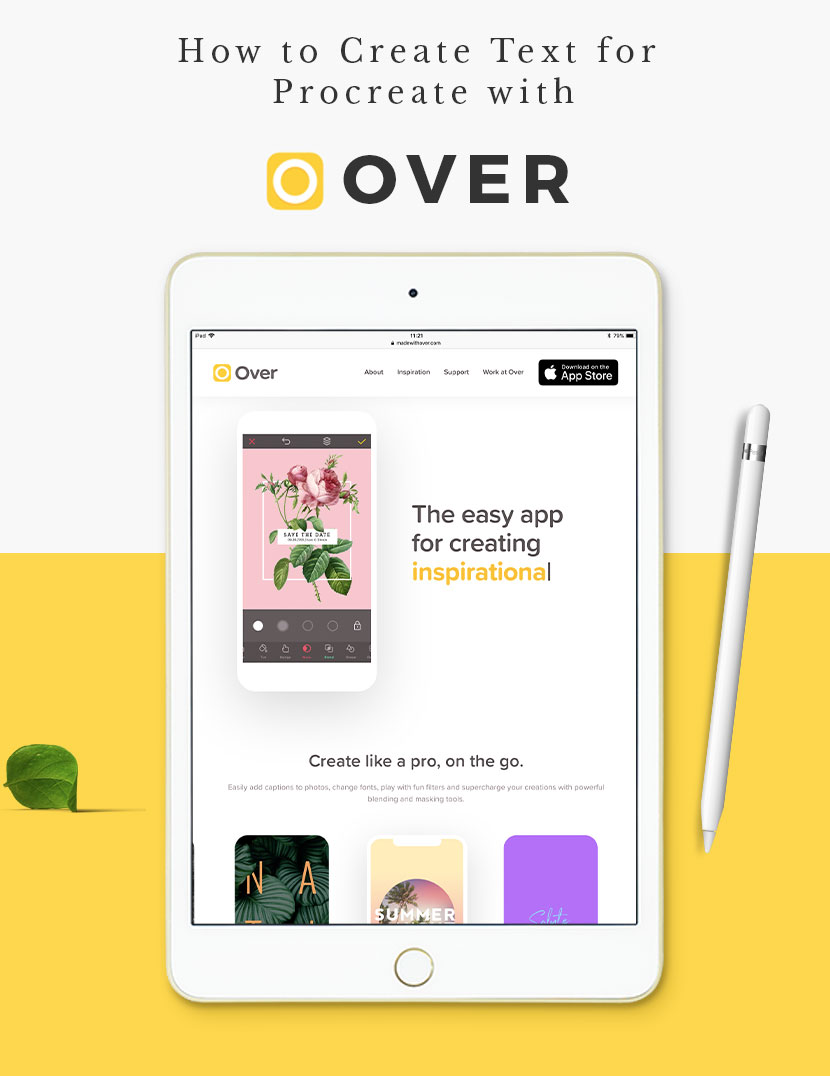
Yes, you can download and use a free version of Over that includes the text feature. There is an extended Pro version available for $14.99 per month (or $99.99 per year).
Can you bring in your own fonts?
No, not in the free version. You can import fonts with a Pro subscription.
Can you Copy & Paste your text layer into Procreate?
No.
Can you export a file with transparent background and import into Procreate
Yes, you can save your file to your Photos, and import into Procreate.
What file types can you export?
PNG files only.
Over appears to be a very popular choice in the community for creating text for Procreate. There has been a change to their pricing model recently, and looking at the reviews, it seems a few people are upset by some features being removed from the free version. The ability to create and export text is still available without a subscription.
How to Create Text For Procreate with Over
Step one
First you need to install Over on your iPad. This should normally be pretty straight forward, but I found one part of this process confusing, and wanted to highlight it incase you also get stuck.
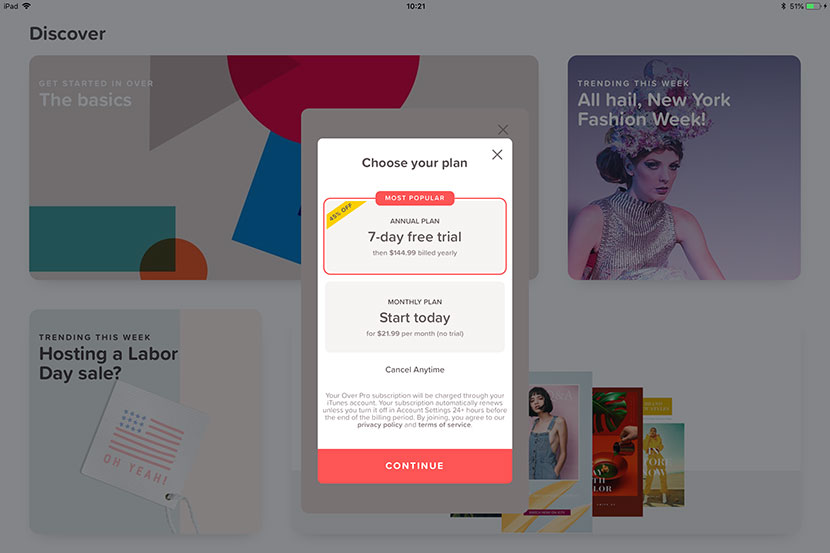
The initial couple of set-up steps are simple enough, but then you get to a screen with a button to ‘Start your free Trial’. Great, ok. On clicking that button though, you come to another screen asking you to choose a subscription plan (screen grab shown below).
The options presented, are between the Annual plan (with a 7 day free trial), or the Monthly plan. There is no mention of how to continue with the free version. It seems as if choosing a paid plan is a necessary step in order to proceed. There is a small ‘X’ at the top right of the panel that will close this screen to continue on to the free app. It’s not very obvious though, and I think they could really improve the user experience here (this is my web design background talking now).
I just feel it is slightly misleading. I had to email the Over team directly to make sure I wasn’t going to be charged $100 for the subscription. They were nice and responded quickly. I like this app, and love the inspirational feed, but they could improve the sign up process in my opinion.
Now that’s off my chest, let’s continue!
Step two
When you open the app, you’ll be on the ‘Discover’ page. At the bottom of the screen, there are five icons. Tap on the ‘+’ icon in the middle. You’ll have the option to choose different backgrounds. Tap the ‘Transparent’ background. Then choose a document size. I usually go for the default ‘Square’ size. Tap the yellow tick at the top right to proceed.
Step three
You’ll see your blank canvas and all your tools in the top and bottom menus. Tap on ‘Text’ in the bottom menu.
Step four
Type your text. You’ll see you can scroll along the panel at the bottom to change the font. Once you find one you like, tap the yellow tick in the top right to accept.
Step five
You’ll see the ‘Size’ button, in the bottom menu. Tap on this and adjust the slider to scale up the text. Make it fairly large so it will be at least 100% or bigger than what you need to use in Procreate.
While within the Text settings, you can edit other properties, such as colour, shadow, opacity etc… You might choose to change the colour now if you already know your design plan, or you can do all the adjustments from within Procreate.
Note: Once you open your text layer in Procreate, it will ‘rasterize’ the image. This means it will pixelate and blur if you need to scale up too much beyond its actual size, so it’s good to get this as close as possible within Over.
Step six
When you are finished tweaking your text, tap the share icon in the top right, and choose ‘Save to Photos’. This will save a PNG file to your local Photos folder on your iPad.
Step seven
Next, open Procreate. Open the file you want to add the text to, or set up a new canvas. Tap the wrench icon and choose ‘Insert a photo’ from the menu. Find the text image you made and choose it. Voila! You have text! Now you change the colour, add a drop shadow or edit as you would a normal layer within Procreate.
Graphic
Is it free?
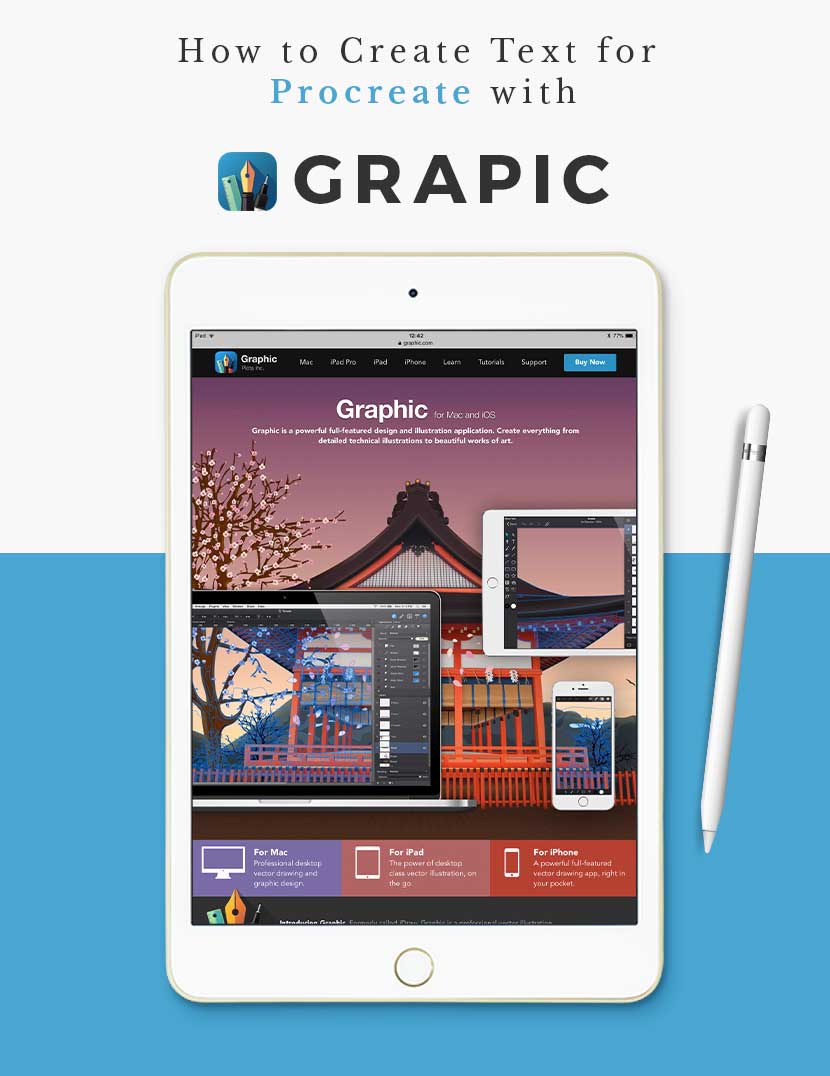
No. It’s $8.99 for the iPad version.
Can you bring in your own fonts?
Yes, you can import fonts.
Can you Copy & Paste your text layer into Procreate?
Yes.
Can you export a file with transparent background and import into Procreate?
Yes, you can save the file locally to Photos and import into Procreate.
What file types can you export?
PNG files only.
How to Create Text For Procreate with Graphic
Step one
Tap the ‘+’ icon in the top left to create a new document and choose ‘Blank’ canvas option. Tap on the document you just created.
Step two
Tap the ‘T’ icon in the left menu panel, to active the text tool. You’ll see the text ‘Double-Tap to Edit’ appear in a box. Double-Tap it to edit and type your text.
Step three
You’ll see in the bar under your text with the text properties, here you can adjust the font and font size as well as tracking. Make sure your text is selected in order to make the changes (double tap the text and it will highlight in blue).
Step four
When you’re finished your edits, tap on the canvas to exit the text properties. Tap and hold on the text layer and choose ‘Copy’ for the menu pop up.
Step five
Go back to your document in Procreate (or set up a new canvas if you haven’t already). Use 3 fingers to swipe down on the canvas in a quick motion. You’ll see a menu pop up – choose paste to insert your text!
As noted earlier, once you copy your text into Procreate, it will ‘rasterize’ the image, meaning it will blur if you need to scale up too much beyond its actual size. If you need to make the text larger, go back and edit to your original layer within Graphic.
Vectornator
Is it free?
Yes.
Can you bring in your own fonts?
Yes, you can import fonts.
Can you Copy & Paste your text layer into Procreate?
Yes.
Can you export a file with transparent background and import into Procreate?
Yes, you can save the file locally to Photos and import into Procreate.
What file types can you export?
JPG, PNG, SVG, PDF, AI or VN (Vectornator extension).
How to Create Text For Procreate with Vectornator
Step one
When you open Vectornator, you’ll see a similar style gallery screen as you would in Procreate. Tap on the ‘+ / New Document’ button. You’ll be presented with a lot of different preset options. Choose one of the suggested sizes, or create a ‘Custom Size’. Enter around 3000 x 3000 pixels to give a fairly decent canvas size. Tap ‘Create’ and go into the new document you just made.
Step two
Choose the ‘T’ icon from the left menu panel to select the Type Tool. Tap and drag out a text box on the canvas. The word ‘Text’ will appear in the box. Tap and backspace to remove this and type the text whatever text you choose. When finished, tap on the canvas to hide the keyboard.
Step three
With the text layer selected (you can tell it’s selected by the bounding box surrounding it), tap the little ‘T’ in the bottom of the left menu panel. This will reveal a font properties box where you can change the font family, weight, size and colour of your text.
Step four
You’ll notice, the maximum font size is 200, which isn’t particularly large. We need the text to be as large as we’ll be using it so there isn’t any quality loss due to scaling, once we take it into Procreate.
In order to scale the text up, select the arrow tool in the top left menu. Tap on the bottom left circle of the bounding box and start dragging it out slowly. While still dragging, place your finger (of your free hand) on the screen. This will constrain the width and height to scale together so the text keeps its proportions.
Step five – !Important!
If you copy and paste your text layer into Procreate as it is now, it will be very small. Even though we scaled it up, it won’t paste into Procreate at the larger size. It’s a strange bug, but one we can easily fix! With your text selected, tap on ‘Path’ in the bottom menu and choose ‘Create Outlines from Text’.
Step six
Next we want to bring the text into Procreate. Vectornator allows you to copy the layer contents to the clipboard, which means you’ll be able to paste it straight into Procreate without exporting to another file.
With the arrow tool selected, drag over the full text layer to make sure it is selected. Tap on ‘Edit’ in the bottom area of the toolbar. Choose ‘Copy’.
Step seven
Go back to Procreate and either set up a new document or go into a previously created one. Swiftly swipe three fingers down on the canvas and choose ‘Paste’. Your text will be pasted into Procreate!
Affinity Designer
Is it free?
No, it’s $19.99.
Can you bring in your own fonts?
Yes, you can import fonts.
Can you Copy & Paste your text layer into Procreate?
Yes.
Can you export a file with transparent background and import into Procreate?
Yes, you can save the file to iCloud or Dropbox and import to Procreate.
What file types can you export?
File type options are : PNG, JPG, GIF, TIFF, EXR, HDR, PSD, EPS & SVG.
While Affinity isn’t free like some of the other examples, its features are extensive and well worth the investment in my opinion. One thing I think you’ll enjoy, is you can 2 finger tap to undo, which is a gesture you would be used to with Procreate!
How to Create Text For Procreate with Affinity
Step one
Open Affinity and you will see a ‘+’ in the top right menu. Tap this and choose ‘New Document’. You’ll be presented with various Document property options. The setting we are most concerned for this purpose, is to make sure it has a transparent background. So tap the little icon under ‘Transparent Background’. Tap ok.
Step two
You’ll see a ‘A’ icon near the bottom of the left menu panel. Tap on this to select the text tool. Tap on the canvas and start dragging out. You’ll see an imprint of the letter ‘A’ scaling up as you drag, to easily choose enlarge your text size. When you’re happy, let go and start typing your text.
You’ll notice a contextual menu on top of the keyboard area. Make sure your text is selected (double tap it and you’ll see it highlight in blue), then choose a font from the drop down menu. You can also adjust the size and weight from here too.
Step three
When you’re happy with your text, tap the little page icon next to the arrow in the left of the top menu. Choose ‘Export’. You’ll see a button to ‘Share’ at the bottom left of the export screen. Tap this, and choose ‘Copy’ from the popup menu.
Step four
Return to your document in Procreate (or create a new one). Swipe three fingers down on your canvas and ‘paste’ your text.
I hope you found this overview helpful.
Your preference will probably come down to how comfortable you are with design software. Vectornator, Graphic and Affinity all have a very ‘designer-y’ interfaces, so people who have used Adobe software before will feel at home. But if that’s not something you have experience with, Over might be a more comfortable choice for you.
It’s also worth considering what other features you may require from the app. If you plan to vectorise your lettering, you might choose to go with Affinity Designer for example. That way, the time you spend getting familiar with a new app can be invested in one place.
I would love to know your favourite and the reasons why in the comments below!

Josee
Thank you for sharing this information—very useful!
Nicole Mauloni
Thanks for reading Josee! Glad you found it helpful 🙂
Anne
Thanks for a very informative article. My favorite app is Over, because it’s the only one I’ve used. I’ve imported a ton of fonts, and I love it! I often use it to import words into Procreate.
Nicole Mauloni
Hi Anne, thanks for your comment! It sounds like Over is a great fit for your needs. It’s a nice and easy workflow with text creation for Procreate. Out of interest, are you using the Pro version?
Hudaibia
Thank you…worth reading .
Nicole Mauloni
Thanks Hudaibia 🙂
Dave Wittekind
Thanks for the informative article. I’ve been using Graphic on my iPad, but after reading some reviews of Affinity Designer, may check that out for its additional illustration features. Looks like it’s $19.99, not $30.99, so maybe the price has been reduced?
Nicole Mauloni
Ah! Thanks for picking up on that Dave… I try to keep all prices in USD, but this one slipped through in AUD! Fixing that now…
Affinity is becoming more and more interesting! It’s a very powerful app. You might enjoy the latest post on the blog showing how to use it for vectorising. The pencil tool is as close as I’ve seen to Illustrator – https://ipadcalligraphy.com/tutorial/vectorise-procreate-lettering-ipad/
Vrinda Vij
This was very helpful. I was looking for an app like vectornator for a long time.
Thank you Nicole!
Nicole Mauloni
You’re welcome Vrinda! Thanks for reading 🙂
soundoftext
I love this app! It’s so easy to use and the results are beautiful.