I’m writing this to you early in the morning with a cup of coffee, trying to type while my energetic toddler bobs around me. He really is the best but has little patience when I need a bit of focus time. Working mum life has its challenges!
So I’ll get right to the point!
I know sometimes the most simple things can get in the way of practicing iPad Calligraphy (and I’m not referring to my toddler here 😂).
.. like not knowing what to write for a start. It sounds so simple, but when we have limited time and just want to get some practice in, it really helps to have something ready to go so you don’t even need to think about it. You just open your iPad and it’s there ready to go!
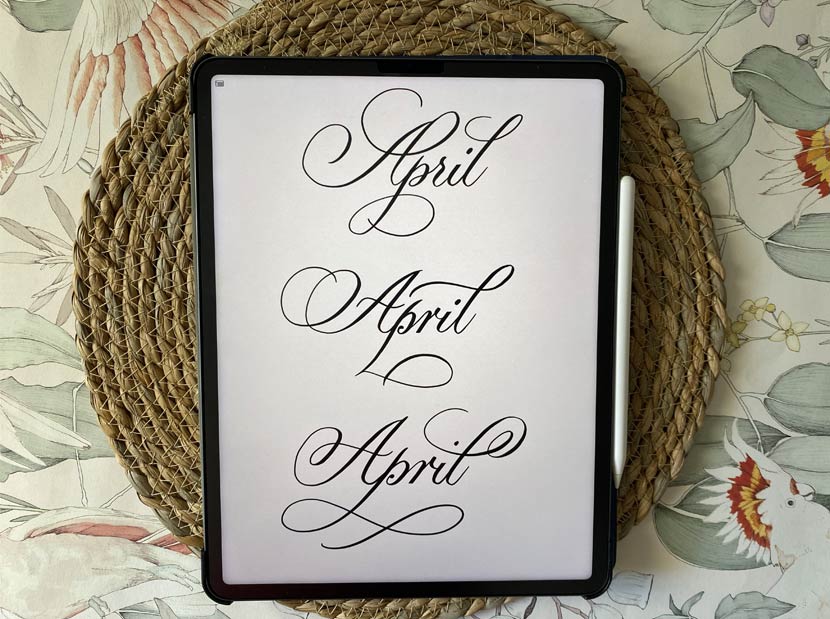
So I made this handy worksheet for you! It’s the word ‘April’ written in 3 different ways so you can trace and then reference yourself. It also includes my go-to pressure sensitive calligraphy brush that I used to write the examples so you know your strokes will match perfectly!
This gives you 3 beautiful ‘A’ flourishes to learn as well as variations for the letters ‘r’ and ‘p’. It’s good to know different options of the same to use in different situations as it suits the design.

There’s also some video direction to go along with it which will show you exactly how to use the worksheet and how the strokes and letters are made under the download.
Enter your details below to download this free flourished worksheet for Procreate!
Practice Tips!
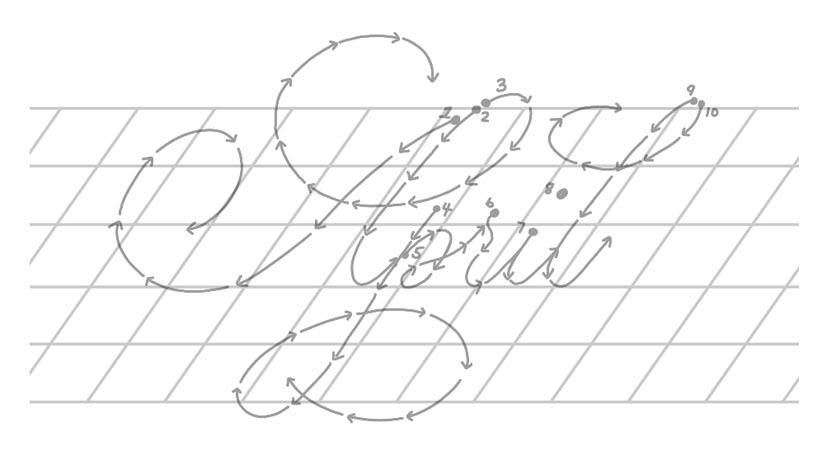
You’ll see when you open it in Procreate, I recommend a 3 step process to practice each variation of the word ‘April’.
Step One
Start by getting familiar with how the strokes and letters are made and when to pick up your pencil by removing the added complexity of the thick and thin strokes. So in this first example we simply trace the word using a standard Procreate brush called ‘HB Pencil’. This doesn’t have any pressure sensitive settings, so it gives the same weight to your strokes.

Step Two
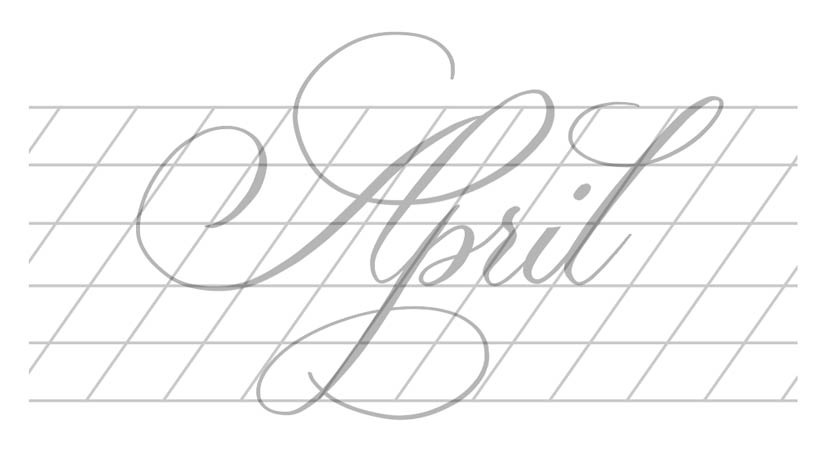
Next we introduce pressure! Using the special calligraphy style brush included in your download, trace the example again, but this time apply pressure to your downstrokes. This will give you the thick and thin strokes that feature in this style.

Step Three
And finally in step three, you can take off the training wheels and try practicing on the blank row provided without tracing! I know it sounds scary at first, but it really is the way to progress your skills and move forward. And if you don’t feel ready, just repeat Step 2 a few more times by adding a blank layer above the instructions page!

Rinse and Repeat for each example!
You can use this method for each example.
I hope you enjoy and Happy Easter!
