Today was an exciting day for Procreate fans. After a long wait, Procreate 5 is finally available in the app store!
This update has been on our radar since Savage announced it was coming back in September at the Lightbox Expo in California. You may have seen a few demos and tutorials on YouTube and Instagram highlighting the new features. A beta version was opened to the public earlier in November. The Procreate website crashed straight away from overloaded demand, and the 10k seat limit was quickly reached!
We’ll be diving into more in-depth tutorials in the coming weeks, but today we’ll start with an overview of the new features.
Note: This update is free for existing users. No additional purchase or cost is necessary, just go to the app store and update. If you don’t see version 5 right away, give a bit of time to propagate to your location.

Learn Calligraphy
on the iPad
from Scratch!
Create stunning calligraphy in Procreate with no experience or special tech skills (even if you have messy handwriting and don’t think you’re creative enough)
WATCH THE FREE WORKSHOPProcreate 5 New Features
New Graphic Engine – Valkyrie
A new cutting-edge graphics engine called ‘Valkyrie’ (pronounced val·keeuh·ree) designed to elevate Apple Pencil + iPad Pro to new heights. This isn’t necessarily something you will notice immediately on the front end, but the improvements will mean better overall performance which make for a better experience.
Interface Enhancements
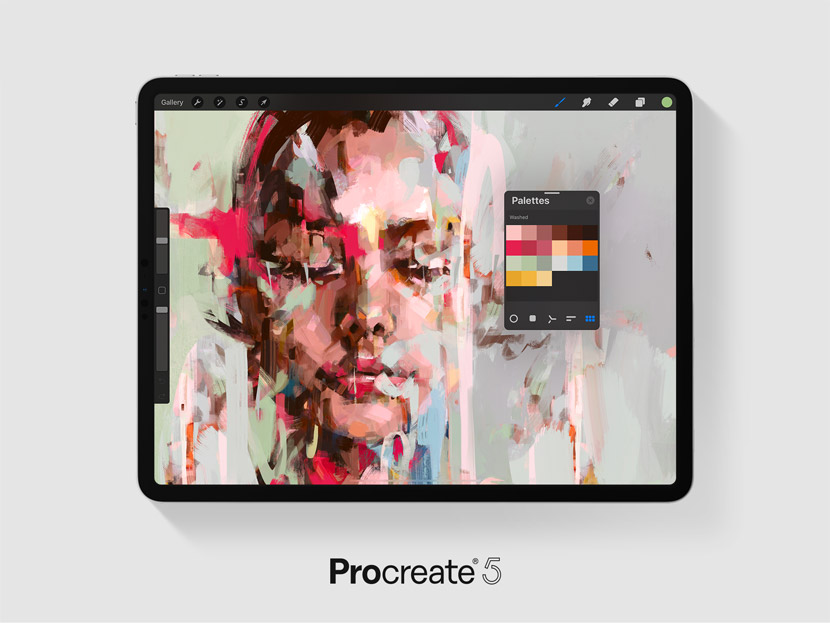
The new floating Color Picker allows you to detach the Color Panel and keep visible on the canvas, making color matching super easy and fast! Just detach the panel and you can move a mini version across the canvas to keep it open and visible anywhere you like. You can switch between the different color panels – Disc, Classic, Harmony, Value and Palettes.
Color Harmony
There’s new features within the color panel ‘Color Harmony’. This gives you a helping hand to choose better color combinations such as complementary, split complementary, analogous, triadic, tetradic. A lot of artists would previously use other external apps or websites for color selection, but that’s not necessary anymore.
There’s also a new ‘history’ feature, that keeps your most recently used colors within easy reach.
CMYK comes to Procreate!
While we’re on the subject of Color THIS IS HUGE >>> CMYK color profile is now possible in Procreate! You might remember I made a tutorial about how to prep your artwork for print which used Affinity Designer to change the profile to CMYK. Well this is no longer necessary! You can now work with CMYK right in the app. A huge leap for print designers!
Animation Assist
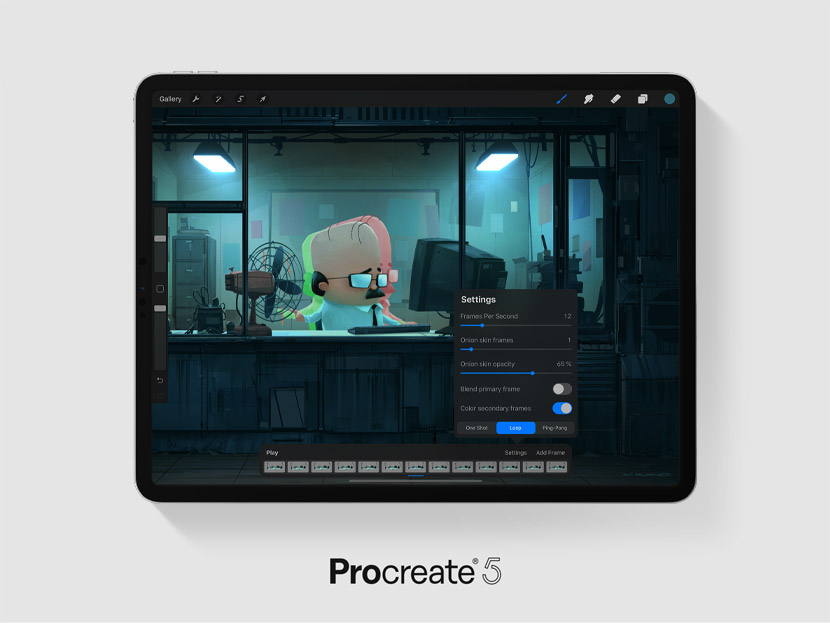
The animation feature just got a massive makeover! It was pretty rudimentary before, but is a lot more sophisticated in the new version.
Fundamentals such as onion skinning (help you preview the last movement in your animation frame) and instant playback gives you the power to create and preview animations within the app. Previously, you had to go to the export screen to preview your animation in a tiny window, but not anymore!
You can also pin a layer or group to the bottom or top so you don’t have to make loads of duplicate backgrounds.
Introducing the Clone Tool
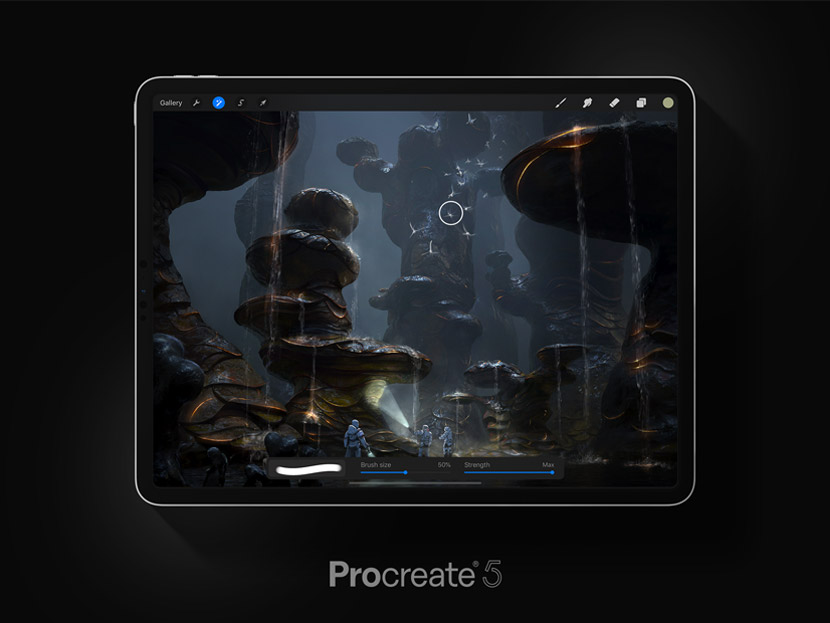
If you’re a Photoshop user, you are probably familiar with the clone tool. A super useful tool that allows you to designate an area of pixels you want to paint on another area of the canvas. Well, it’s in Procreate now too. Geez.
New Default Brushes
There’s over 190 default brushes in 18 different style categories all built from the ground up to take advantage of Procreate 5’s new brush engine, giving more control and texture.
Introducing Brush Studio
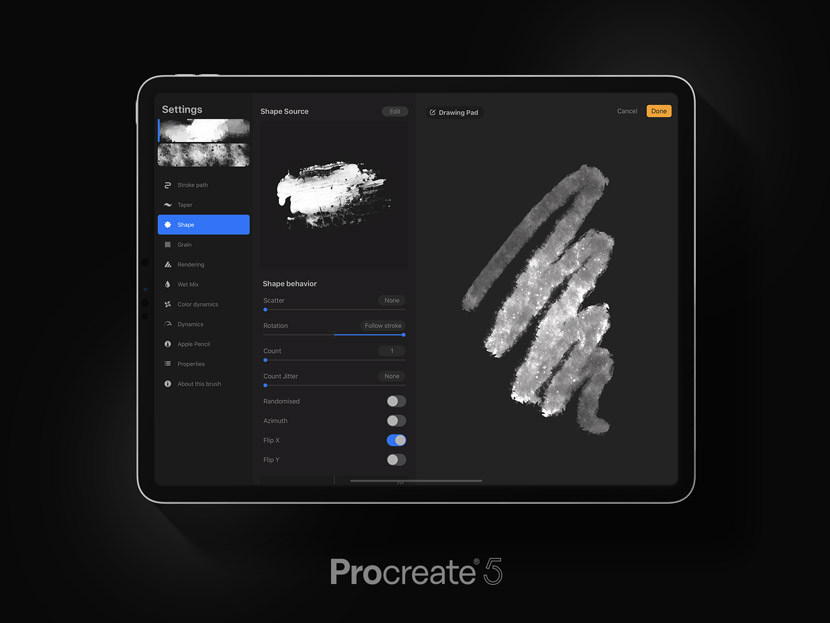
Editing and creating brushes just got a big refresh. You can now edit the settings of a brush full screen and there’s a lot more space to preview your changes. There’s a whole host of new settings and blend modes to play with, not to mention ‘Color Dynamics’, allowing changes to hue and saturation controlled by pressure and tilt.
With the growing popularity of brush making, authors can now attach their signature, profile and avatar to brushes.
AND the dual brush maker allows you to combine two brushes into one and double the amount of texture you get in one stroke. Exciting possibilities for brush artists!
Another big, BIG feature is we can now import Photoshop brushes too! That just expanded your library 10 fold.
So it’s safe to say, this release is up there with one of the most feature-packed we’ve seen. I can’t wait to deep dive on some of these amazing tools!
What are you most excited about? Let me know in the comments below!

Peter Geenberg
Thanks for the preview. I’d love to see tutorials on Color Harmony, using CMYK and the Brush studio.
Nicole Mauloni
Thanks for reading Peter! And excellent suggestions for tutorial topics – you got it 😉
Sandy Eustace
Being brand new to Procreate I would like to have some basics of the new features and how and when they would be used. Thanks
Nicole Mauloni
Excellent suggestion Sandy, thanks!
Fco Blanco
I can’t wait to get my tooth into the brush studio.
Nicole Mauloni
It’s so awesome isn’t it Fco. One of my favourites of the new features too 🙂
Angie M
Thank you Nicole!
I will follow your directions on how to back up my brushes before updating!
Nicole Mauloni
Great Angie! Yes, definitely a good time to backup.
Jill Caffrey
I second Peter’s requests, but honestly – as I’m new to all of this any tutorials you choose to do will be helpful!
Nicole Mauloni
Thanks Jill. Glad to hear it’s helpful
Ro
How can we open the animation menu? Sorry if I’m missing something ????
Nicole Mauloni
Hi Ro, you can find the ‘animation assist’ toggle under the ‘Canvas’ panel of the ‘Actions’ menu (tap the wrench icon to open the menu options)
AnneLou Robkin
Thanks for the overview of the new version of Procreate! I am excited about it using Photoshop brushes, as I have made a few of those and will be happy to be able to use them in Procreate!
Nicole Mauloni
Glad you liked it Anne Lou! Yes, the Photoshop Brushes compatibility is an amazing addition. That’s great that you’ll be able to use your PSD brushes now.