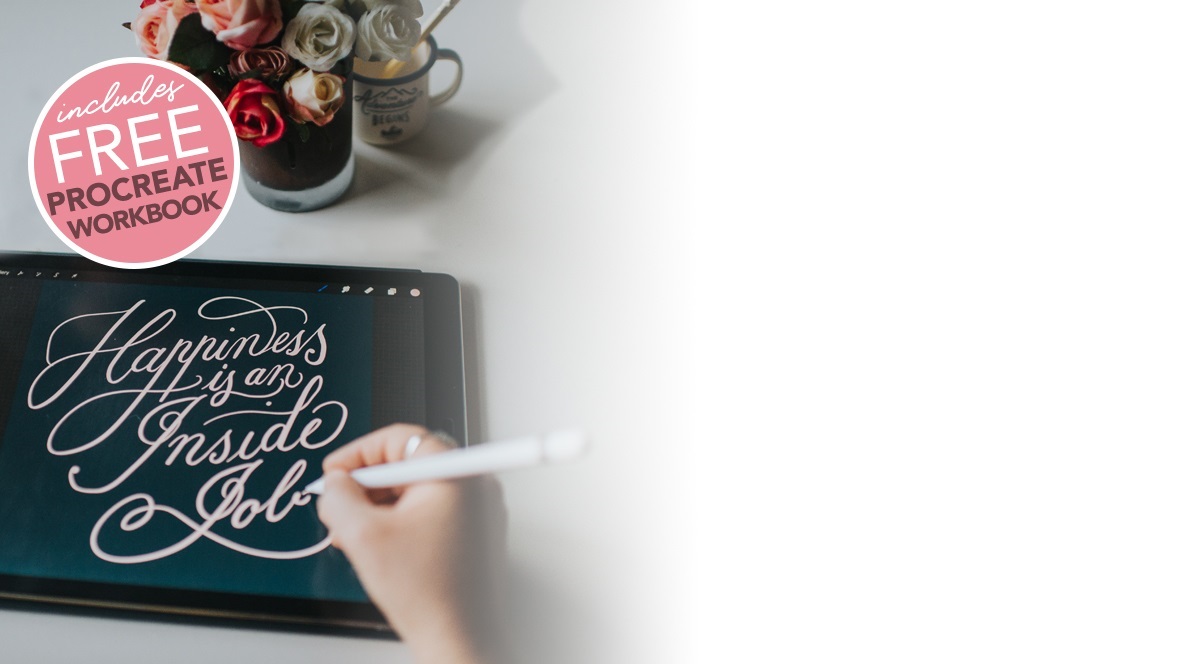
A really cool and trendy look for hand lettering is a streaky paint effect. Working with digital tools, it can be hard to achieve an authentic result using brushes alone. You want to see variation in the tone and paint build up in some areas to get that realistic look.
That’s why using textures can sometimes be a better option for an effect like this. If you’re a fan of the iPC blog and store, you may recognise the paint streaks used in today’s tutorial. That’s because they are part of the Pencils & Paint pack initially created for Procreate. This pack has now been released for Affinity Designer (and also compatible with Affinity Photo).


Learn Calligraphy
on the iPad
from Scratch!
Create stunning calligraphy in Procreate with no experience or special tech skills (even if you have messy handwriting and don’t think you’re creative enough)
WATCH THE FREE WORKSHOPToday I want to show you how easy it is to achieve that same streaky paint effect in Affinity Designer on the iPad.
I’ll be using textures from the Pencil & Paint pack for Affinity, but you can download a free texture below to follow along with the tutorial. So let’s dive in!
Click here to see the Pencil & Paint pack of textures and brushes used in the tutorial.
Download a Free Sample Texture
Click here to download a free sample paint texture to follow along with the tutorial

Brandi F.
Hello,
I am newbie and was wondering would I need a updated iPad? I currently have an iPad Pro 10.5 inch.
Nicole Mauloni
Hi Brandi, thanks for your comment. Procreate will work fine on the iPad Pro models. And your iPad is also compatible with the Apple Pencil which means you can use pressure sensitivity. This allows you to create calligraphy using pressure sensitive brushes if you choose to.