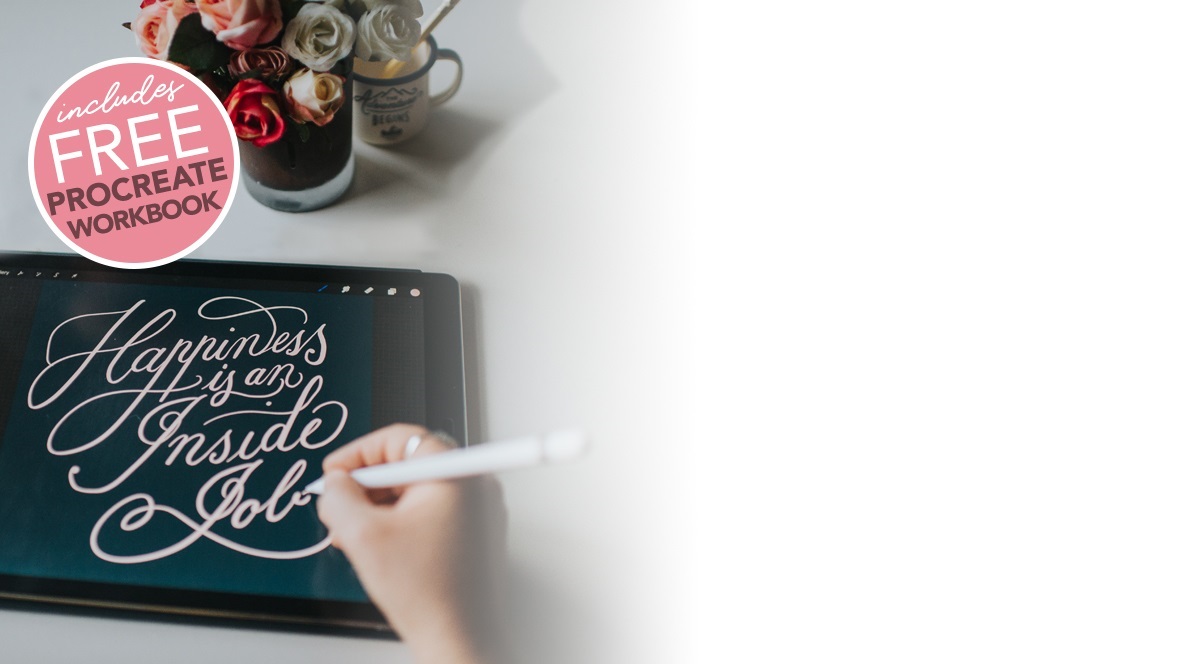
There’s multiple elements that make up a good lettering piece. The lettering itself obviously being one of them. But other important elements are color and texture. And that’s what we’re looking at today.


Learn Calligraphy
on the iPad
from Scratch!
Create stunning calligraphy in Procreate with no experience or special tech skills (even if you have messy handwriting and don’t think you’re creative enough)
WATCH THE FREE WORKSHOPWe’ll be starting with a completed sketch in Procreate. I’ll show you where I source my color inspiration from as well as how to get a helping hand if you’re not a super confident illustrator. We’ll also look at cool tips for how to add texture to your lettering as well as how to work with color throughout. If like me, you wondered what the ‘Reference’ setting on a layer did, you’re about to find out!
Two different brush packs were used to create this piece. The extremely useful Grid Builder pack, and another awesome pack called Rough and Raw for the texture brushes.
If you want to use the exact brushes I used in this tutorial click here to save 20%!
