Since the release of Procreate version 4.1 earlier this month, Instagram and Facebook have been flooded with symmetry designs. Don’t get me wrong, I love these beautiful, intricate, mandala style pieces. But there is another amazing new feature that is being seriously overlooked. The warp tool.
The warp tool is another example of how Procreate is shaking things up with each new release, and becoming more and more powerful for lettering. It allows us to bend, stretch and fold textures to the curve of our strokes (previously only achievable in Photoshop), giving an authentic handmade look quickly and easily.
This type of effect is something I have tried to master in Procreate for a long time. I couldn’t find (or create) a realistic enough brush to give me those acrylic paint type of streaks. The pencil brushes were more accurate texture wise, but making each individual stroke was tedious and time consuming. Things are different now.
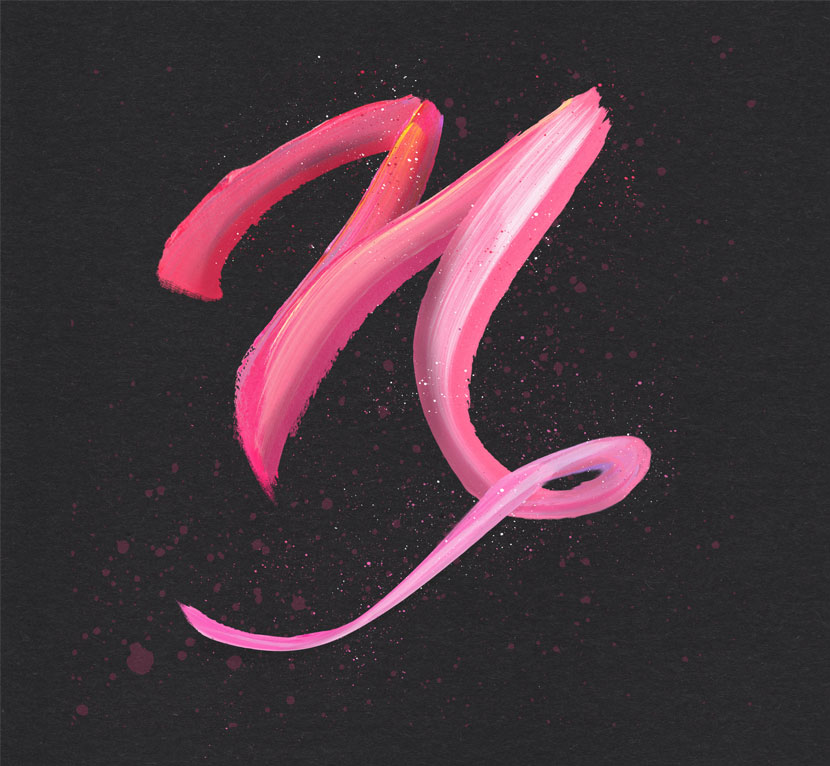
Today I’m going to show how to use the warp tool to create lettering that looks like it was hand-painted.


Learn Calligraphy
on the iPad
from Scratch!
Create stunning calligraphy in Procreate with no experience or special tech skills (even if you have messy handwriting and don’t think you’re creative enough)
WATCH THE FREE WORKSHOPNote : the assets used in the tutorial are from the Pencils and Paint Kit for Procreate.
Tips & Tricks for Paint Textured Lettering
- Ideal canvas size is around 3000 x 3000 pixels
- Use a thick stroke for your guide letter to better showcase the detail of the texture
- Try to minimise the amount of scaling you do to the layer ie. don’t scale it down, commit the change and then scale up again as the texture will lose quality
- Use a variety of textures in the same, or similar, colour family
- Don’t be afraid to use the smudge tool to blend any part of the texture that isn’t flowing with the layer underneath
- Add shadows and highlights consistent with the direction of a light source (either from the top left or right)
- Add some splatters of paint around the edges for extra effect

