Have you ever finished a beautiful design in Procreate and wondered how to make it truly stand out? There’s a simple trick that makes your work instantly look more polished and professional: mockups.
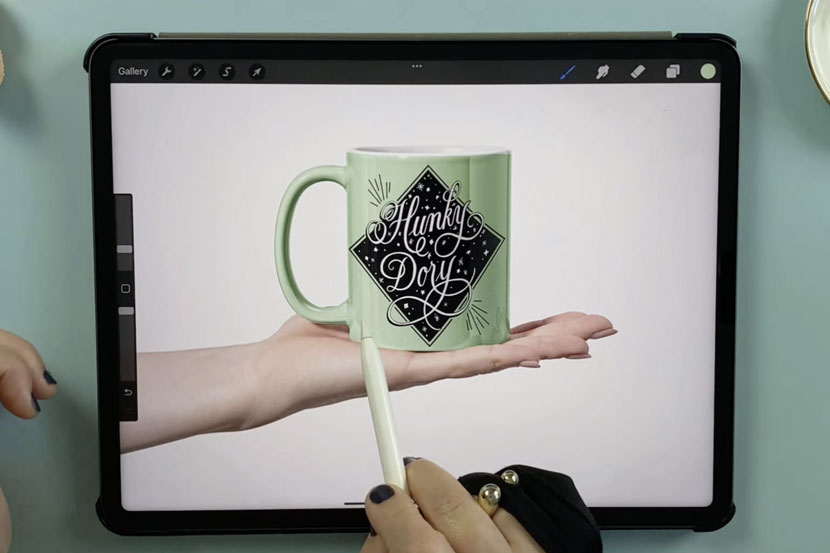
Mockups are pre-made scene templates that let you present your art in realistic settings, like on mugs, tote bags, framed prints, or tech devices, without needing to hire a photographer or physically print your work. And the best part? You can easily use them directly in Procreate! Watch the video below to see how.
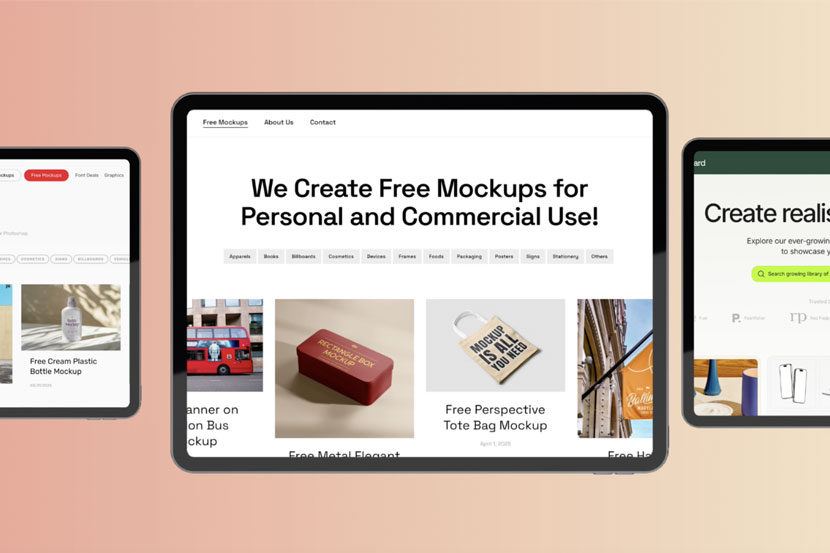
Where to Find Great Mockups
First, you need to source a good mockup design. Some of the best mockup resources include:
Unsplash – Perfect for flat JPEG images. They’re all free, high-resolution, and allow personal and commercial use.
Creatsy – Offers high-quality PSD mockups, especially strong in fabric and lifestyle photography.
See below for my full list of mockup websites.
Working with Flat JPEG Mockups in Procreate
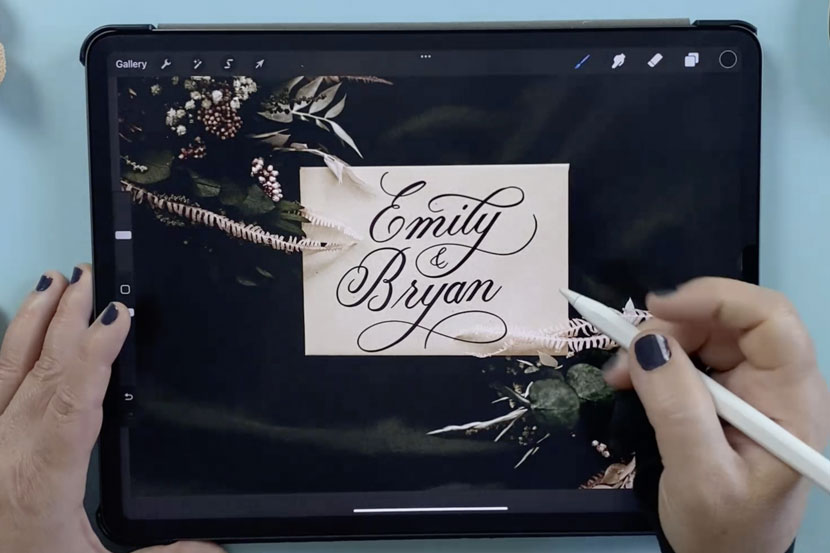
A mockup file doesn’t need to be a layered PSD to work. The following method works especially well if you’re using a flat area that you want your image to sit.
- Import your mockup into Procreate from the Photos app.
- Insert your artwork and set the layer blend mode to Multiply to remove white backgrounds.
- Use Layer Masks to hide parts of your design, making it look like objects in the scene are overlapping your artwork.
Tips for Applying Art to Curved or Irregular Surfaces
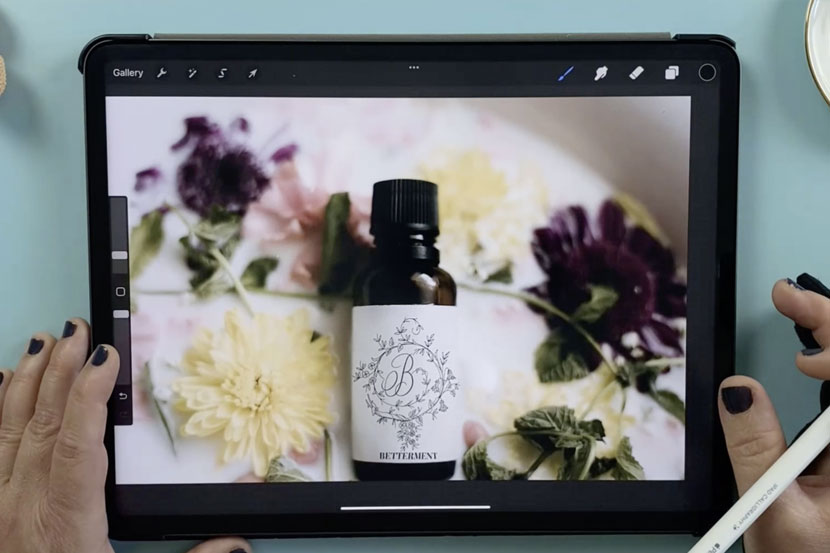
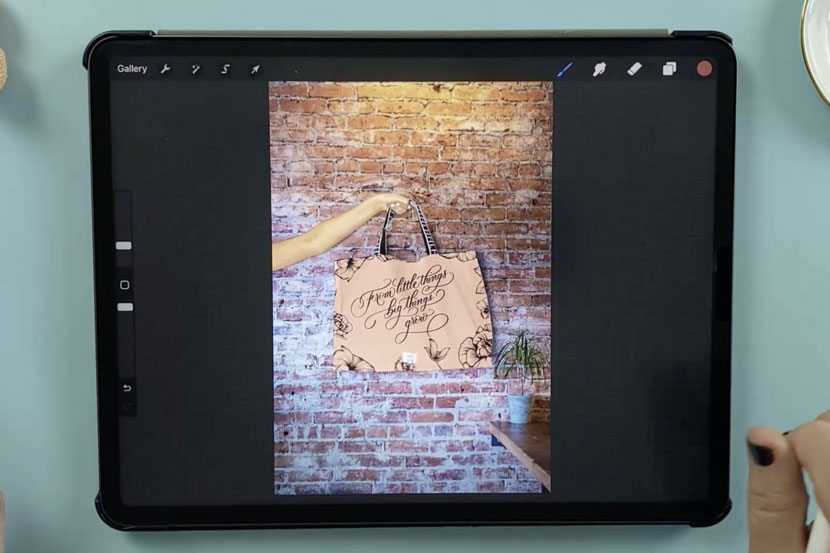
To make your design look realistic on objects like bottles or tote bags:
- Use the Warp Tool to gently bend your design to match the curve of the object.
- Create a Clipping Mask to lock your design to a specific shape like a tote bag.
- Experiment with blend modes like Add or Pin Light to preserve texture while keeping vibrant colors.
Bonus: Using PSD Mockups
While Procreate doesn’t support Photoshop’s Smart Objects, you can still work with layered PSD files:
- Pay attention to the layer names, and look for one called something like “design” or “paste here” – paste your artwork.
- Use Warp and blend modes as needed.
- Customize colors of mug handles or interiors using the Selection Tool and Fill Layer. They should retain the layer effects
With just a few simple steps, you can transform your digital lettering or artwork into a product showcase that looks like it came from a professional studio shoot – no camera, props, or printer required!
My Go-To List of Great Mockup Websites!
📍Unsplash
📍Creatsy
📍Pexels
📍Pixabay
📍Creative Market
📍Yellow Images
📍Mockupbee
📍Mr Mockup
📍Place It
📍Mockup World
📍Motion Array
📍Hello Mocku
Ready to try this out? Watch the full video tutorial here where I walk you through step-by-step examples using different mockup styles in Procreate.
Disclaimer: Some of the links in this description are affiliate links, which means I may earn a small commission if you choose to make a purchase – at no extra cost to you. I only recommend tools and products I truly love and use myself!
