
Digitizing your physical sketches doesn’t have to be complicated—or require a scanner. In this step-by-step tutorial, I’ll walk you through how to import, clean up, and enhance your hand-drawn artwork using just your iPad and the Procreate app.
This is Part 1 of a two-part series. In Part 2, I’ll show you how to convert your artwork into a vector format using a completely free auto-trace method—perfect for Affinity Designer, Linearity Curve, or Adobe Illustrator. But today, we’re focusing on everything you need to do inside Procreate.
Hi! I’m Nicole from iPad Calligraphy, where I teach curious creatives how to use the iPad for lettering and design. Whether you’re digitizing a quick doodle or an intricate drawing, this guide will help you get your artwork onto your iPad and cleaned up beautifully.
Bonus Tip: Don’t miss the trick at the end—I’ll show you how to separate your linework from the background in just three taps, making recoloring a breeze!
Step 1: Set Up Your Canvas in Procreate
Start by sending your photo to your iPad—AirDrop works great—and save it to your Photos app.
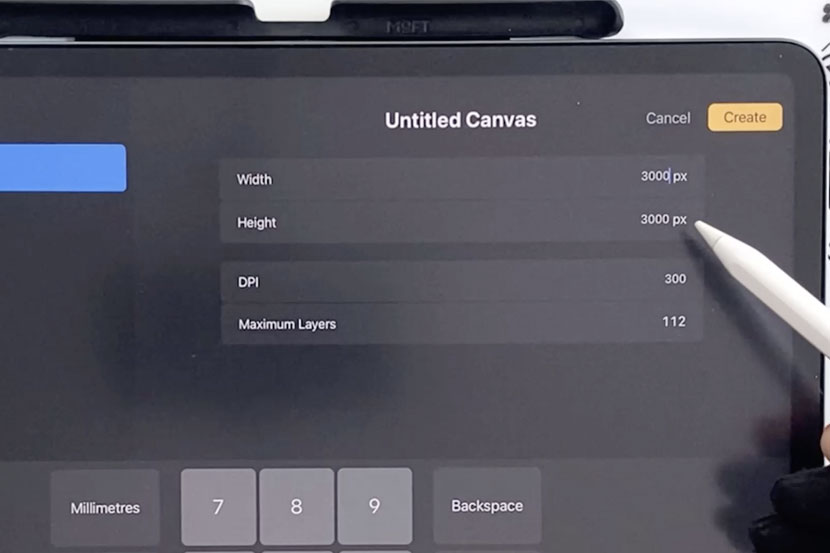
- Open Procreate and create a new canvas.
- Set it to 3000 x 3000 pixels at 300 DPI—perfect for printing and resizing.
- Go to the wrench icon (Actions menu) → Add → Insert a photo, and choose your artwork.
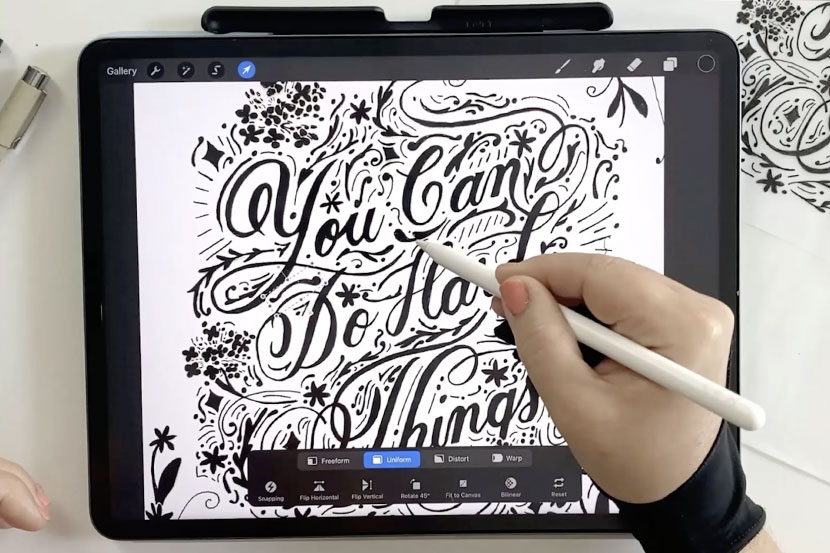
- Rotate and scale your image using the transform tool. Pro tip: Do all your adjustments in one go to preserve quality, then tap the arrow tool to commit.
Step 2: Adjust Contrast for a Clean Black & White Image
- Tap the magic wand icon (Adjustments) → Hue, Saturation, Brightness
- Slightly increase Saturation and Brightness to brighten whites and darken blacks.
- Tap the canvas and choose ‘Apply’ to commit the changes.
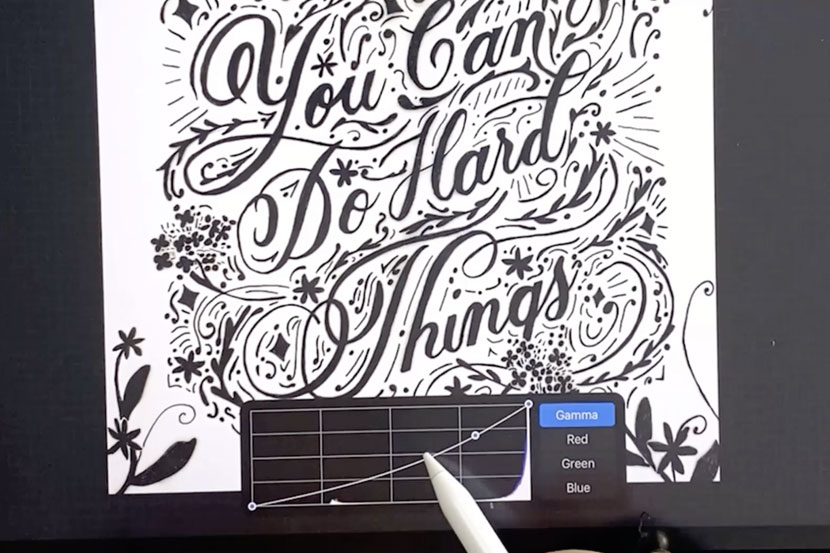
- Still in the Adjustments menu, choose Curves.
- Gently pull the curve points to deepen the contrast and remove paper texture.
- Tap to confirm when satisfied.
Step 3: Minor Cleanups and Touch-ups
Look closely at your artwork for any imperfections.
- Use the Selection tool (S icon) in Freehand mode to isolate and move parts of your drawing.
- Copy and paste floral elements or fill gaps by duplicating and repositioning pieces.
- Merge layers to keep things tidy.
Step 4: Set Up Quick Black & White Colors
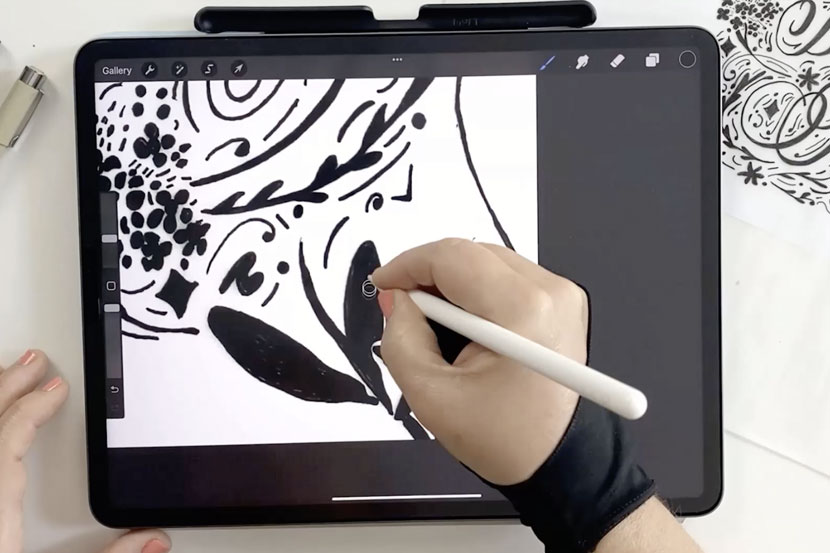
To fix areas your pen didn’t fully cover:
- Tap the Color Circle → double-tap near the black rim to snap to pure black.
- Do the same for white.
- Use the tap-and-hold trick to quickly toggle between your last two colors.
Now use a monoline brush (no texture) to fill in missing blacks or paint over unwanted artifacts with white.
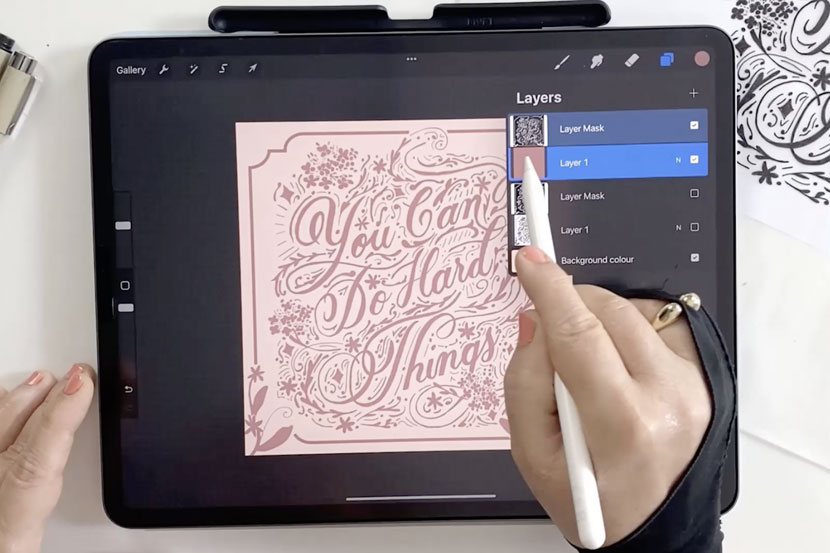
Step 5: Separate Linework from the Background (Magic Tip!)
This quick masking trick allows you to change your background or recolor your linework effortlessly.
- Tap the artwork layer → Mask.
- Tap the original layer → Copy.
- Tap the mask layer → 3-finger swipe down → Paste.
- This will hide the linework (because it’s black), but don’t worry!
- Tap the mask layer again → Invert.
- Voilà! The linework is visible and separated from the background.
You can now change the line color or background independently without retracing anything!
That’s It — Your Artwork is Digitized!
You’ve now created a clean, high-resolution digital version of your hand-drawn art in Procreate—perfect for sharing, printing, or recoloring.
But if you want to take it a step further, Part 2 of this series will show you how to turn this into a scalable vector fileusing a free method—even if your artwork is full-color.
Thanks for following along. I hope this guide made the process clear and enjoyable. See you in the next tutorial!
—
Want to learn more tips like this? Subscribe to my YouTube channel or explore my online courses at iipadcalligraphy.com/courses/.