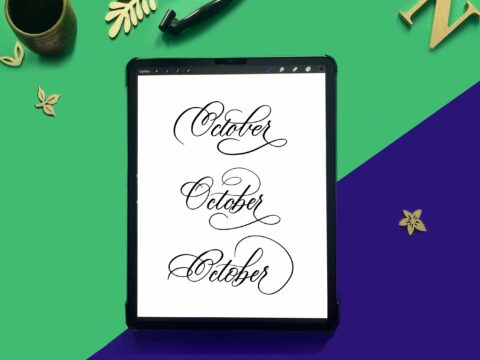
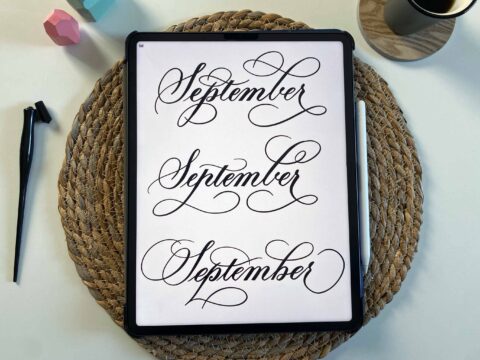
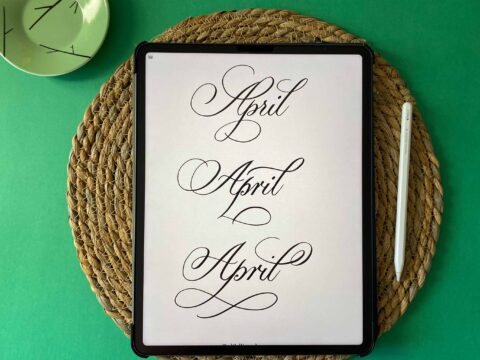
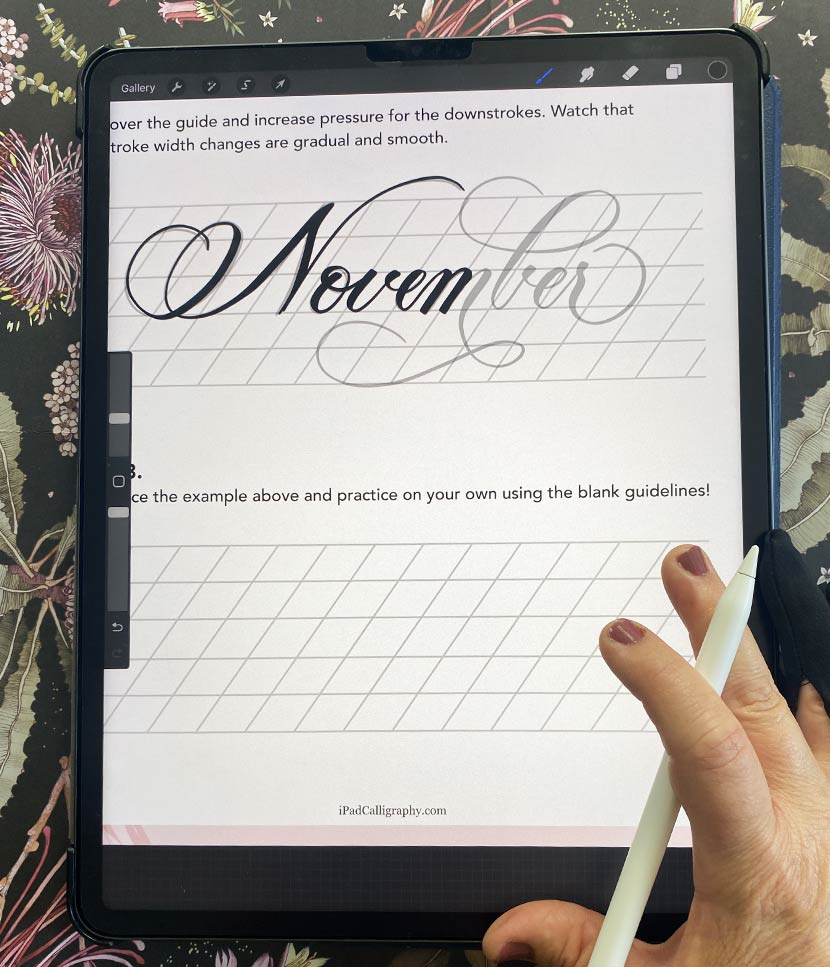
Your free November worksheet for Procreate is ready! And as usual, there’s 3 flourished variations to explore. And of course your essential pressure sensitive brush is included along with the Procreate worksheet in the download below.
The exercise is broken into 3 steps. Step number 1 gives you the directional arrows to follow, showing you exactly how each stroke is made so there’s no confusion about where they start and end. I suggest using a brush without pressure (like the ‘HB Pencil’ brush in your default ‘Sketching’ set).
After you’re familiar with the strokes, we move to Step number 2, and we bring back the pressure sensitive brush as you trace the lettering underneath.
And finally, Step number 3 (if you’re brave enough!) is to take off the training wheels and have a go yourself without tracing! Don’t worry, you can reference an example on the same page, but I really encourage you to give it a go yourself without tracing. This is the only way you’ll really improve and start trusting yourself that you can do this. And if you repeat step 1 & 2 a couple of times, you’ll be surprised at how well you do!
So please help yourself and enjoy this month’s free Procreate worksheet! Feel free to drop any comments or questions below. And if you missed the other 3 worksheets like this, you can find them at the bottom of the post!
Oh, and you might want to check this out… I recently changed the way I write the lowercase letter ‘e’, and I’m finding it’s much easier to achieve the thin top loop and counter space. Check out a demo of the old vs. new way here.
Btw… the stunning paper background used in the photo is by Edith Rewa. Here is an affiliate link to her wrapping paper book if you fancy grabbing it!
Enter your details below to download this free flourished worksheet for Procreate!
Practice Tips!
You’ll see when you open the worksheet in Procreate, I recommend a 3 step process to practice each variation of the word ‘November’.
Step One
Start by getting familiar with how the strokes and letters are made and when to pick up your pencil by removing the added complexity of the thick and thin strokes. So in this first example we simply trace the word using a standard Procreate brush called ‘HB Pencil’. This doesn’t have any pressure sensitive settings, so it gives the same weight to your strokes.
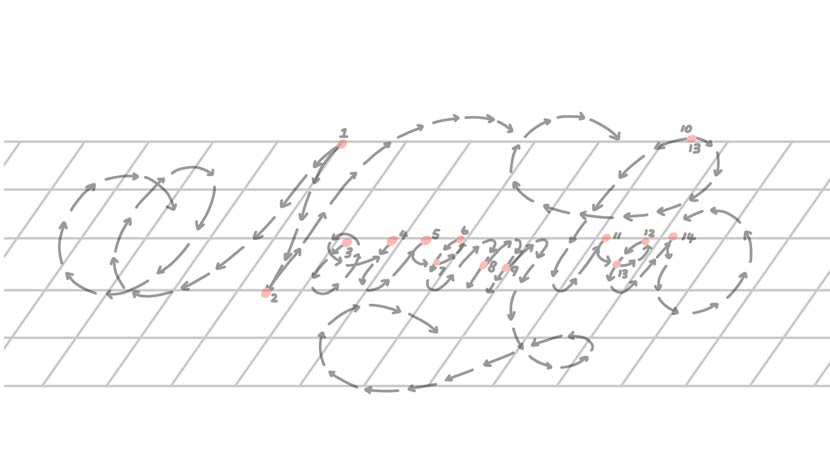
Step Two
Next we introduce pressure! Using the special calligraphy style brush included in your download, trace the example again, but this time apply pressure to your downstrokes. This will give you the thick and thin strokes that feature in this style.
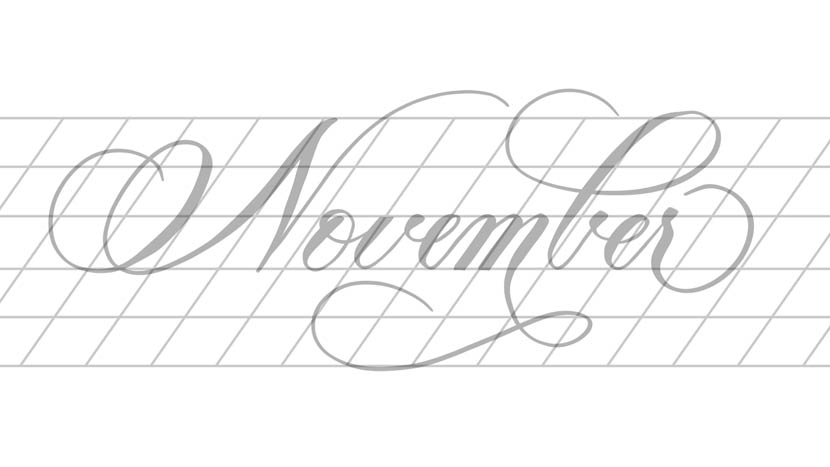
Step Three
And finally in step three, you can take off the training wheels and try practicing on the blank row provided without tracing! I know it sounds scary at first, but it really is the way to progress your skills and move forward. And if you don’t feel ready, just repeat Step 2 a few more times by adding a blank layer above the instructions page!
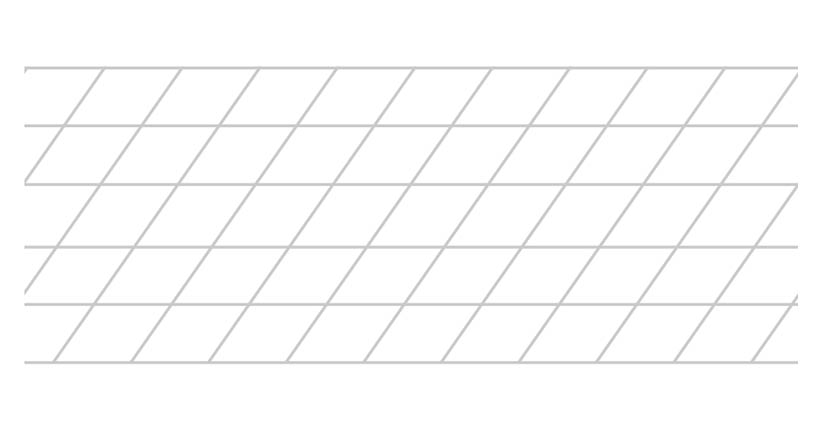
Rinse and Repeat!
You can use this method for each example. And a quick Pro Tip : just create a new blank layer if you want to trace the word a few times before writing on your own. Happy Lettering!
Enjoying the Freebies?
Please consider leaving a tip. I’m able to keep the majority of my content free because of the support of people like you, so thank you!

