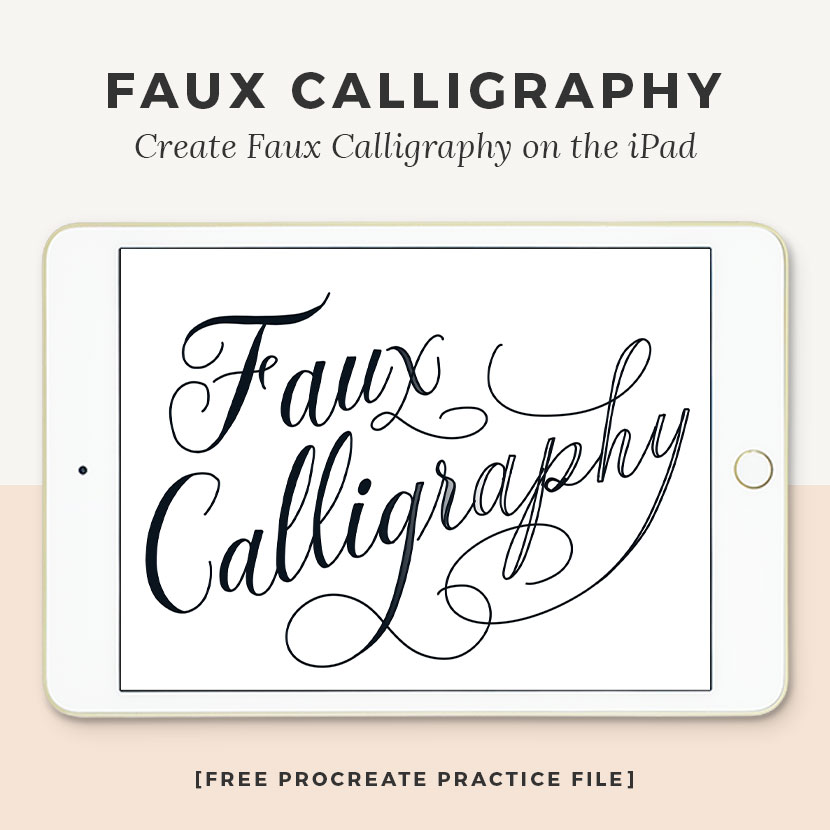
‘Faux’ is a French word meaning ‘fake’. ‘Faux calligraphy’ refers to lettering that looks as if it was written in single pass, but instead is made by drawing the different components of the letters and filling in the thick segments. The end result looks like actual calligraphy, and if done well, it can be difficult to detect the difference!
Learning how to create faux calligraphy in Procreate is a useful technique to know. You have probably used it in some form or another already. It doesn’t require any fancy brushes or complicated pencil pressure techniques. Lettering artist’s regularly use faux calligraphy, particularly for chalkboard work or painting on irregular objects and surfaces.
We’ll first look at some advantages of learning this style of lettering, and you can then see a demo of it in action in the video below. There’s also free Procreate file download if you would like to follow along.


Learn Calligraphy
on the iPad
from Scratch!
Create stunning calligraphy in Procreate with no experience or special tech skills (even if you have messy handwriting and don’t think you’re creative enough)
WATCH THE FREE WORKSHOPAdvantages of Learning Faux Calligraphy
So why learn Faux Calligraphy?
It allows you to scale up your work. You are able to produce work at a larger size more easily than if you were to write with normal calligraphy.
You don’t need any special pressure sensitive tools. You can draw the letterforms with a mono line brush and still achieve a look as if it was made with a calligraphy brush. If you struggle to create the thick and thin strokes using pressure sensitive brushes, you will find this technique a lot easier, and it can be a nice introduction into learning the letterforms.
You can refine individual letters easily using layers. Because you are building the components of one letter at a time, it is easier to correct and refine your work than it would be with real calligraphy. Breaking the letterform into different elements allows you to focus on the shapes in more detail.
There are other factors, but these are the main reasons I use this technique on a regular basis. Knowing where to put the thick and thin strokes and how to graduate the taper the correctly, you can use any tool to achieve a real calligraphy look!
How to Create Faux Calligraphy in Procreate
The video demo below shows the step-by-step technique to create faux calligraphy on the iPad. I’ll share some key tips to look out for to make sure you get realistic results!
See the form at the bottom of the page to download your free project file for Procreate to follow along!
If you want to take your skills further, check out the premium Faux Calligraphy Guide for Procreate. It includes detailed instructions for each letterform plus a special Word Builder file.

Michel Narbel
Thank You!
Nicole Mauloni
You are most welcome Michel! 🙂