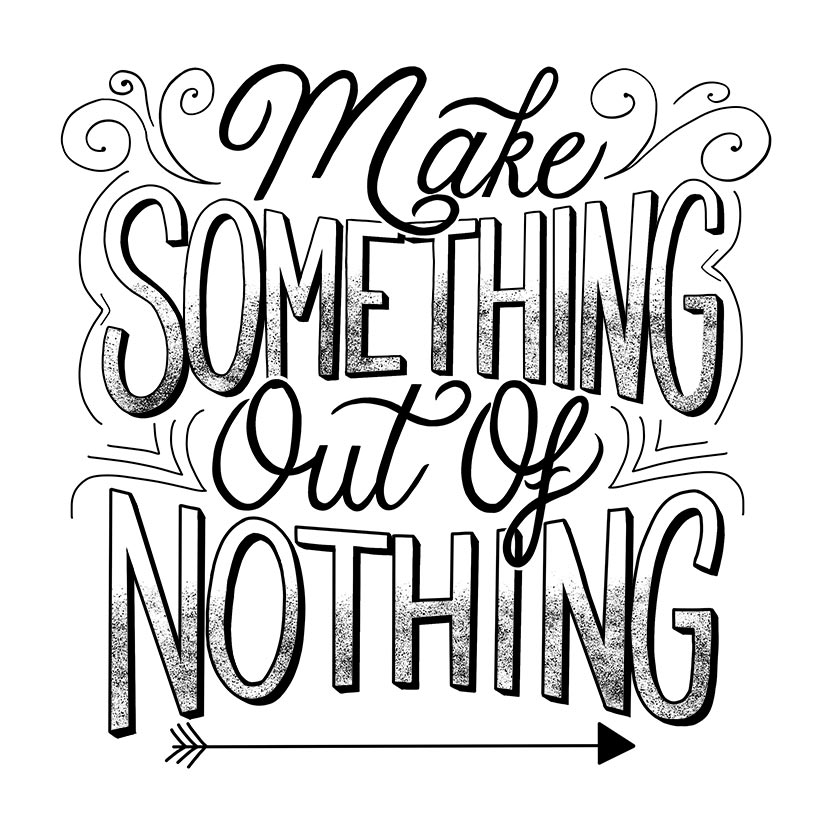
Do you struggle making lettering compositions in Procreate? Don’t worry, you’re not alone! It’s a common challenge, and an art in itself. It’s tricky to get the individual words to interact and feel well balanced. But luckily, Procreate is one of the most efficient tools for the job. Even if you don’t intend the final result to be digital, it can speed up your workflow allowing you to plan the layout, edit and refine the piece as you go.


Learn Calligraphy
on the iPad
from Scratch!
Create stunning calligraphy in Procreate with no experience or special tech skills (even if you have messy handwriting and don’t think you’re creative enough)
WATCH THE FREE WORKSHOPIn today’s video, you’ll be peeking over my shoulder to see the process behind the lettering design above. I’ll show you how you can take full advantage of Procreate’s layers and selection tools to shape the piece from a conceptual sketch to the inking stage.
I’ll also be getting an extra helping hand from a set of Procreate brushes made especially for this task.
Brushes used in this tutorial : The layout brushes featured in the video are from the Grid Builder pack created by Ian Barnard and Stefan Kunz. They contain 35 individual grid shapes you can piece together to guide your layouts. As well as Procreate, they are also provided for Photoshop, Illustrator, Affinity, sketch, Autodesk, printable image files as well as a font too!
Design Cuts have a special deal that if you buy 2 packs you save 20%! With this in mind, you could bundle your Grid Builder brushes with the Letter Builder pack for the perfect companion set!
