I must admit, this week’s post almost didn’t happen. I try to have articles in the buffer ready incase the unexpected occurs. Things have been beyond crazy lately and for the last few weeks I have been preparing posts from week to week. Without going into too much detail, the unexpected occured. I had a family emergency back in Australia I needed to get home for. The flight from London is pretty grueling. In spite of a serious case of jetlag, an emotional family situation and problems connecting to the internet, I was able to publish something for you today. I didn’t want to miss the First-Thursday-Freebie tradition!
So, excuses and confessions aside, let’s get to the goods.
This month’s free download contains two brushes for Procreate. They are not your typical brushes. Rather than painting, we are able to ‘stamp’ a design element onto the canvas.
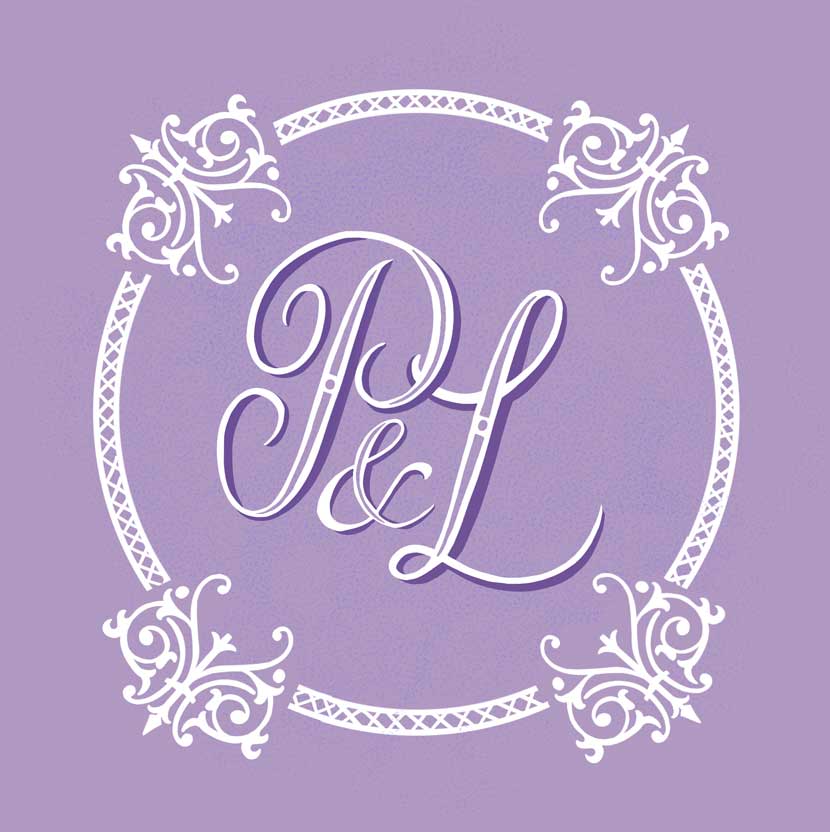
The image below uses the two brushes included in the download. By combining them, we can create a decorative frame for monograms or lettering. I created this design to celebrate a very close friend of mine who is getting married later this year – congratulations Penny and Lau!
This post provides step-by-step instructions for unzipping and installing the brushes in Procreate if you need help with that.
Let’s walk through how you can use these stamp brushes to create a frame similar to the example shown above.
Once you have installed both the ‘motif’ and ‘circle’ stamp brushes, create a new document in Procreate by tapping the ‘+’ symbol and choose ‘Square 2048 x 2048’.
We’ll start by ‘stamping’ the circle graphic. Make sure you have your Circle Brush selected and your colour set to black. Tap once on the canvas, as close to the middle as you can to create the circle shape.
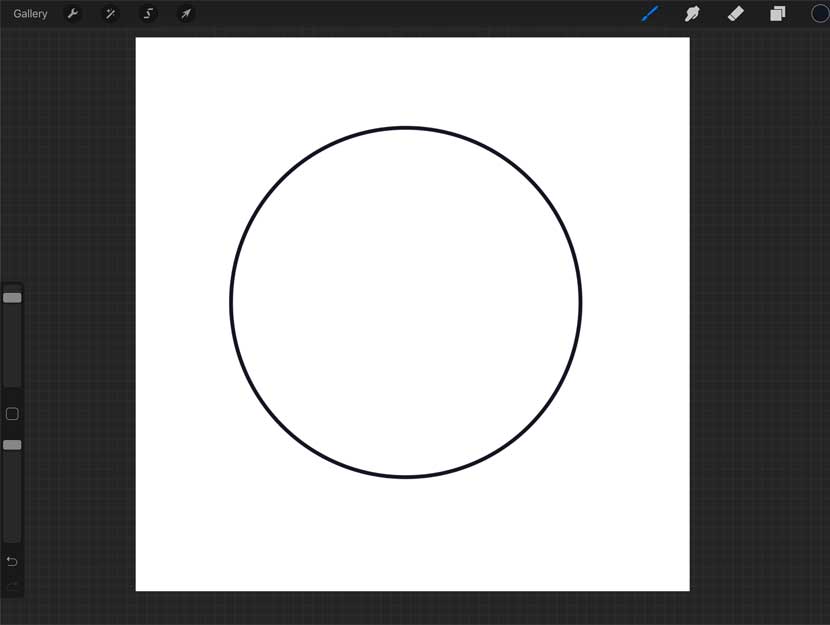
If you didn’t quite get it centered, select your arrow tool from the top menu and nudge into place. Keeping your circle shape selected, enlarge the circle fill most of the canvas by expanding with two fingers.
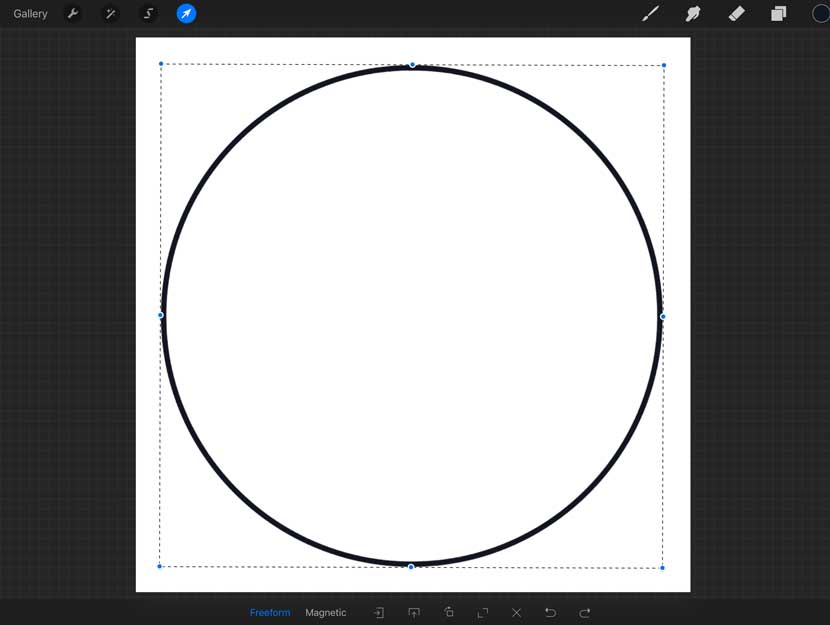
Duplicate your circle layer by opening the layers panel, swipe the layer thumbnail to the left and tap on ‘Duplicate’.
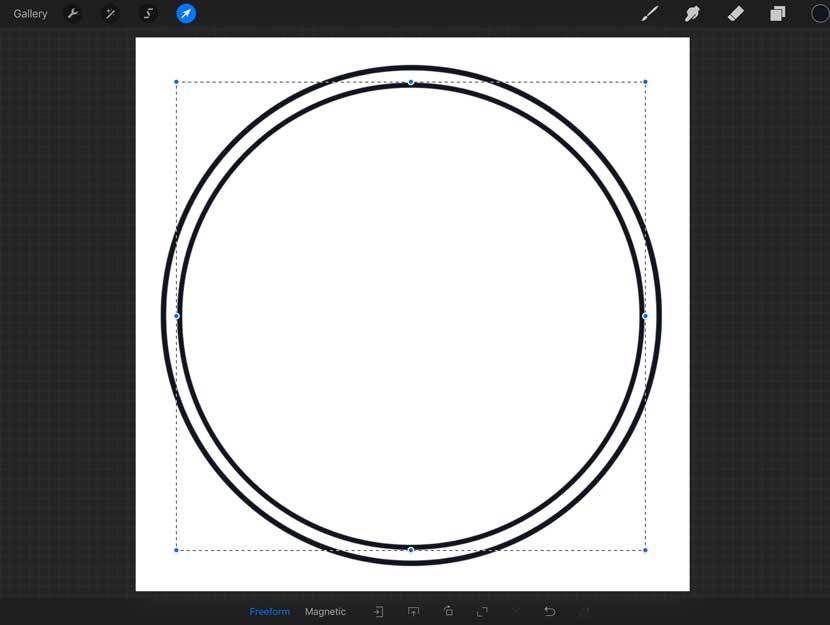
Select your arrow tool and decrease the size of the second circle while keeping it centrally aligned to the first. Once you are happy with the position, merge your two circle layers by ‘pinching’ them together.
Now we’ll add our motif design elements in the corners. To do this, create a new layer. Select your ‘Motif’ Brush and stamp the design anywhere on the canvas. If you find it’s too big or small, you can adjust the brush size or just enlarge the layer itself.
Next, tap your arrow tool to select the motif design. Move it into the top right corner and rotate so it’s on a slight angle. Don’t worry that the circle shape shows beneath, we will fix this soon.
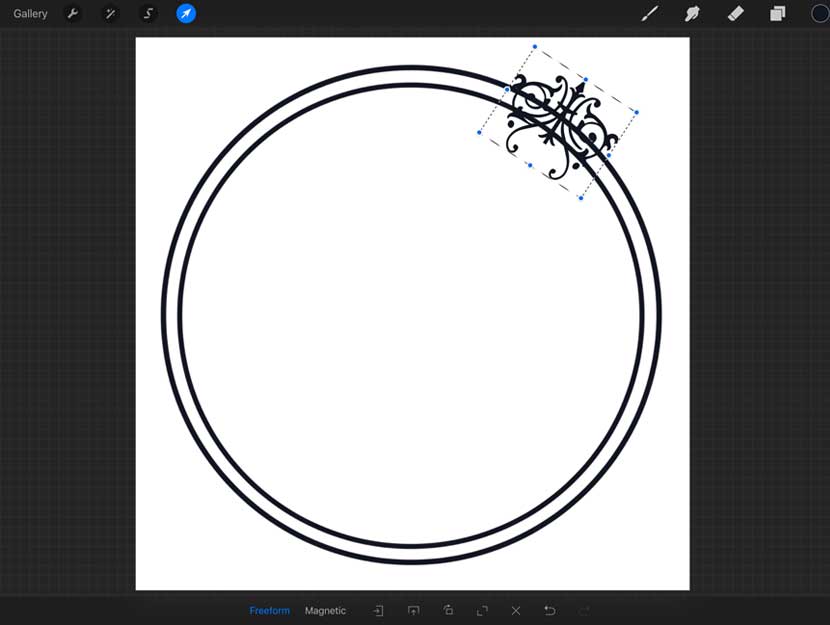
Make a copy of your design motif layer (swipe the layer thumbnail to the left, and choose ‘duplicate’). With this layer selected, tap the ‘flip’ icon in the bottom toolbar (the first icon next to the word ‘Magnetic’). This will flip the motif 180 degrees. Move it to the left corner of your circle shapes. Position it as close as possible to the same alignment as your right corner design (match a part of the design that hits the outer circle for visual reference).
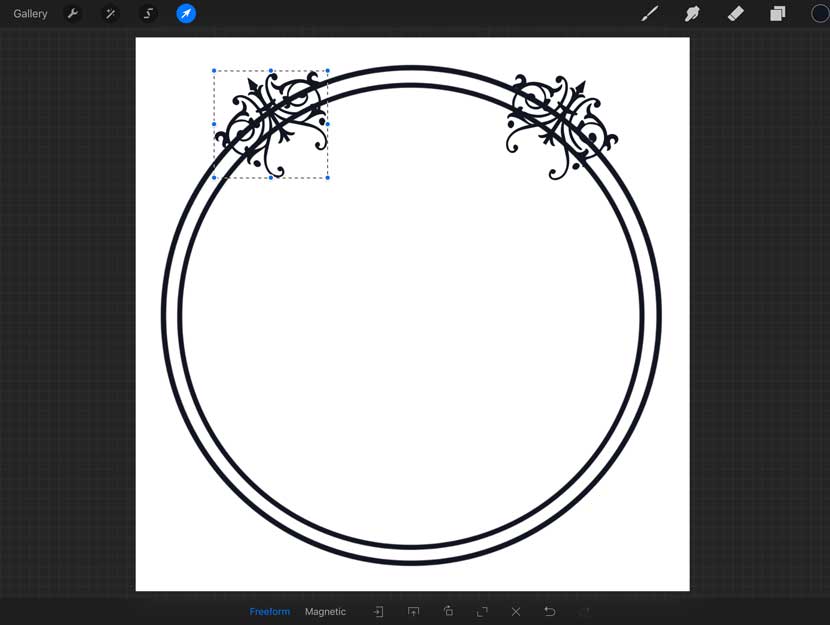
Merge your two motif elements by ‘pinching’ the layers together from the layers panel and duplicate this layer. With the arrow tool selected, flip it vertically by tapping the 2nd icon from the left in the bottom toolbar. Position this at the bottom corners of your circle design aligned as close as you can to the positioning of your top motifs.
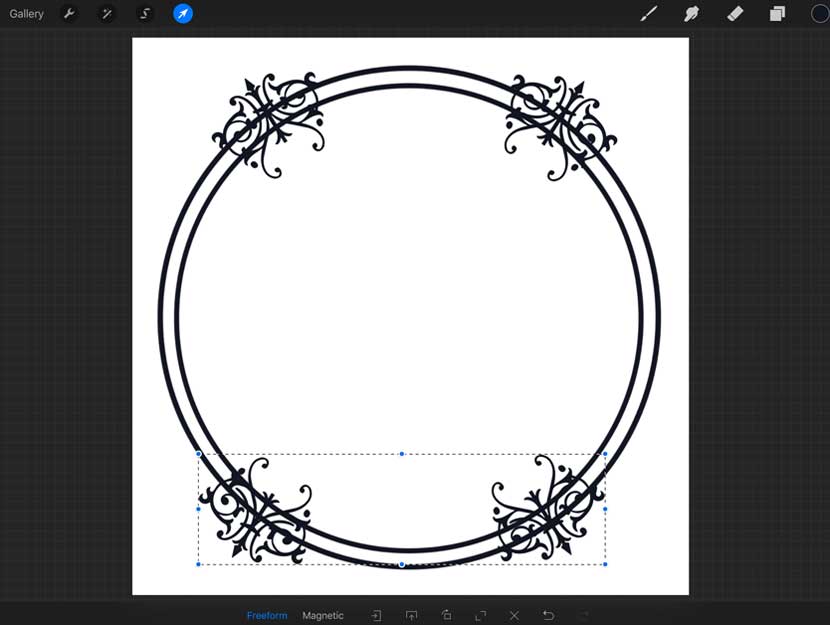
Finally, we want to erase the parts of the circle shape that appear beneath our motifs. To do this, simply select your circle layer from the layers panel and make sure you have your eraser active. Choose a fairly hard brush without texture. You can try the ‘Brush Pen’ that comes standard with Procreate (under the ‘Inking’ brush group). Erase the circle shapes from the four corners under the motif design. Try and keep the spacing similar for all edges.
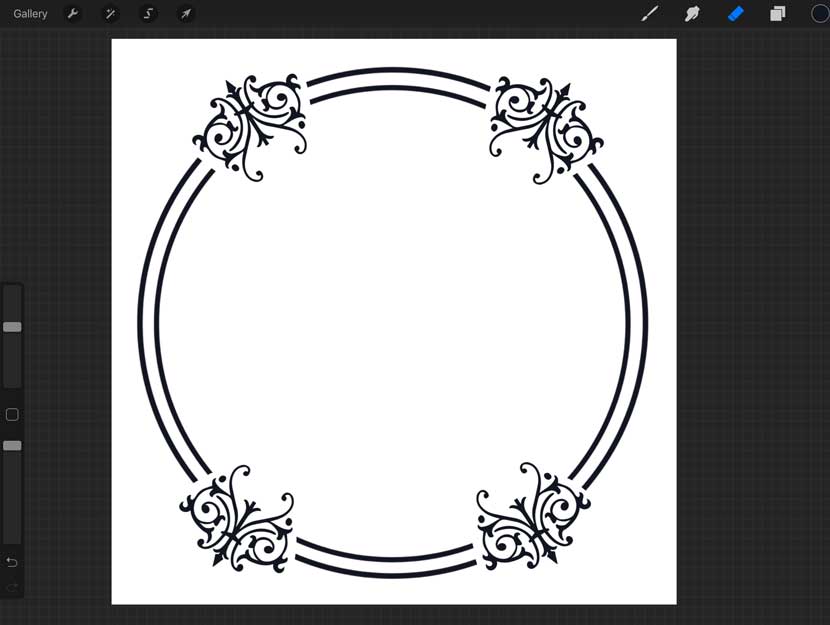
And that’s it! You now have a decorative frame you can use for your designs. Change the colours, add a background colour or texture and letter away!
I hope you enjoyed this tutorial and create some beautiful frames with the brushes. I would love to see what you make! Just leave a comment below or tag me on instagram – @nicolemauloni.

Brenda Fain
Thanks for sharing your talent!
Nicole Mauloni
What a lovely comment! You’re welcome and thank you Brenda 🙂
Jo
Thank you for sharing this lovely design plus tutorial with us. You are very generous. Sending kind regards with regard to your family situation. Hoping you are doing well!
Nicole Mauloni
Really kind of you Jo. So pleased you liked it and thank you for the well wishes!
N'Deye
One, among many wonderful tips you share. Thank you Nicole. I completely agree with Brenda!
Nicole Mauloni
Thanks so much N’Deye. Glad you enjoyed it!