It’s been a huge week for all things iPad. Kicking off with the announcement of the new iPad Pro’s at the Apple Event in New York (ahem, Apple Pencil 2nd gen wireless charging, hello!), followed closely by the release of Procreate 4.2, yesterday.
This is the second major update for Procreate this year. They keep them coming thick and fast. While we catch our collective breath, let’s look at what’s new in 4.2!

Learn Calligraphy
on the iPad
from Scratch!
Create stunning calligraphy in Procreate with no experience or special tech skills (even if you have messy handwriting and don’t think you’re creative enough)
WATCH THE FREE WORKSHOPWhat’s new in Procreate 4.2
The enhancements added to 4.2 are modest, but powerful. It’s obvious Savage listen to their community and care about the longterm development of the app.
We’ll get to each of these in more detail, but here’s a summary of the biggest changes:
- Crop and Resize
- Liquify Dynamics
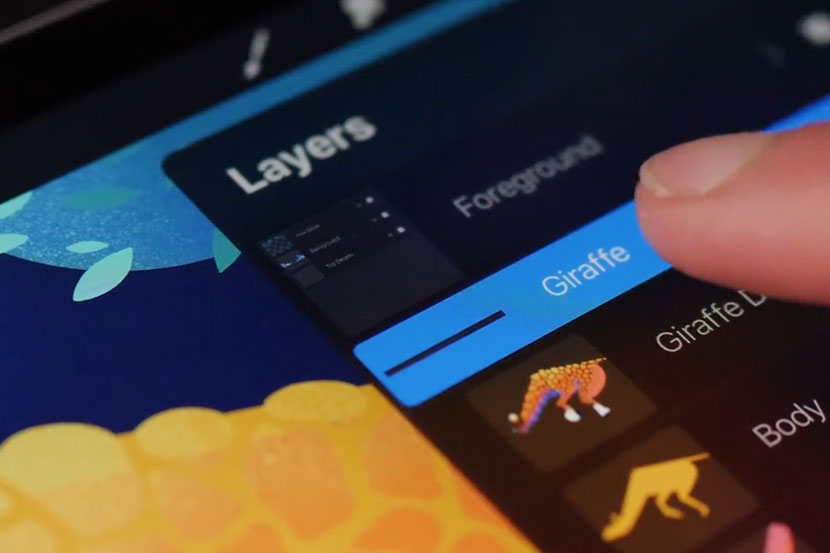
- Layer Clipping Masks
- Selection: Shapes and Feather
- QuickShapes
- Taper settings for Brushes
Along with the above, there were less obvious (but just as cool) tweaks too.
You can now enlarge individual artworks from the gallery to preview them without opening the actual file. From your Procreate Gallery screen, simply pinch outwards on any artwork to enlarge. You can then scroll through and see a slideshow of your other artwork. There’s a little ‘X’ in the top right to close the preview mode, to take you back to the normal gallery.
If you’re connected with Procreate on social, you may have noticed they often share quick digestible tips. There’s now a link within the app directly to their YouTube channel, which contains short video tutorials. You can find this under the Help Tab / Learn to Procreate.
Something I accidently discovered, it seems you can now duplicate a layer by dragging the thumbnail directly onto the canvas. Nice.
And a minor change of the labeling kind, the first group under the Actions panel is now called ‘Add’ (it was previously ‘Image’).
Updating to Procreate 4.2 is free for anyone that has already purchased. You can access by going to the App Store, tap the ‘Updates’ tab at the bottom of the screen, and you should see Procreate icon with a button to ‘Update’ next to it.
Note: When you run 4.2 for the first time, you’ll see the summary of each of the feature additions in the ‘What’s New’ animation. If you ever want to replay this intro sequence, you can find it by going to the ‘Help’ tab under the Actions panel and tapping on ‘What’s new?’ to replay the animation.
Now, onto the juicy stuff.
Crop and Resize
While this may not seem earth shattering, being able to edit the canvas size after creation is a big improvement. This allows you to edit and extend your canvas (without scaling the actual artwork itself) if you run out of room, change orientation, or if you want to focus in on something by cropping down the size.
Crop and Resize can be accessed from the ‘Canvas’ tab of the Actions Panel. Tapping this will bring you into a control panel, where you can adjust the canvas settings either manually, by dragging the corners of the frame, or by typing in numeric values.
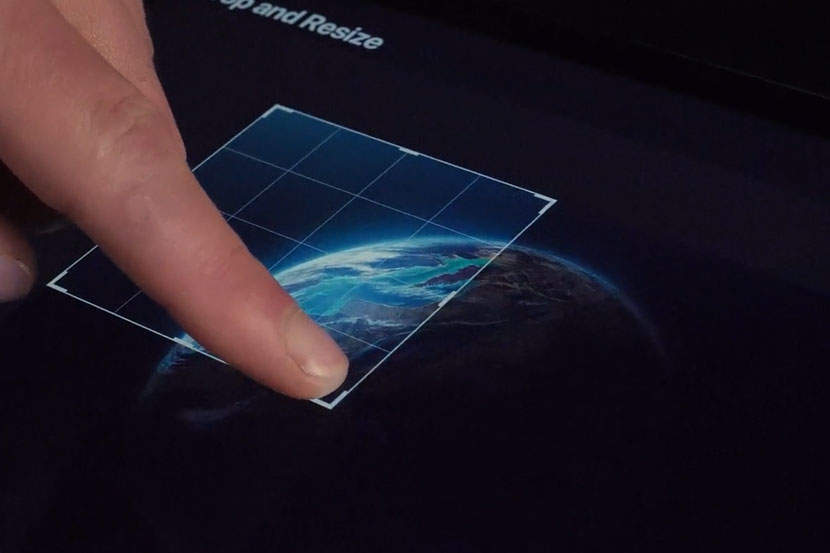
You preview your changes as you go – the brighter parts indicate the area of the canvas you will be keeping, and the darker show the parts that will be removed. You can also shift the center of the canvas moving the entire frame.
To keep the proportions of your current canvas size ie. a square 4:4 ratio, you can tap the icon that looks like a chain link, and the width and height will adjust proportionally.
Should you want to revert without applying the crop, just tap the ‘Cancel’ link at the top right. You can also ‘Reset’ to stay in crop mode, but undo your actions, or choose ‘Done’ to apply the changes.
Liquify Enhancements
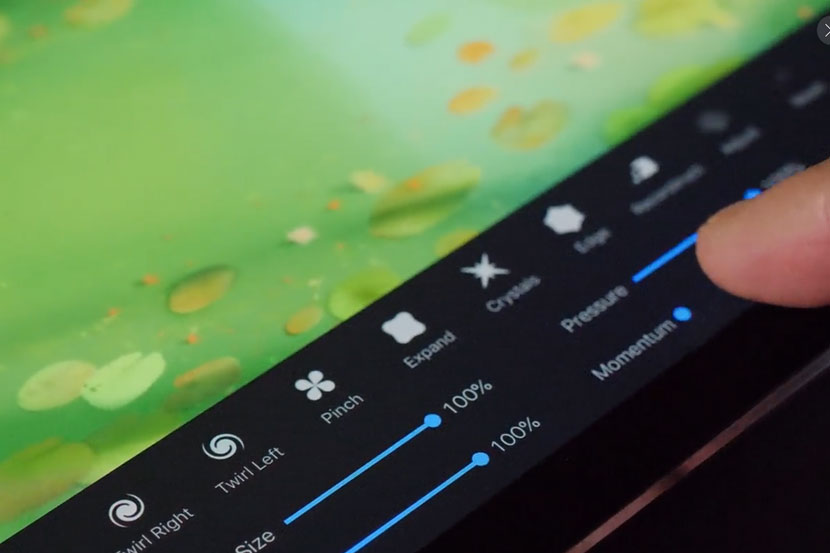
The Liquify Filter was introduced with the last release of Procreate 4.1. It is even more powerful with additional settings for ‘Distortion’ and ‘Momentum’. Some new filter types, ‘Edge’ and ‘Crystals’ were added too. Liquify is amazing fun and produces something like a marbling or resin art effect.
Clipping Masks
Layer Masks were a long awaited, highly requested feature that was included in the previous release. Masks allow you to hide portions of an image non-destructively (without erasing or deleting). Savage have taken this one step further and added the ability to create Clipping Masks. The advantage of using a Clipping Mask, is that you can group multiple layers under the one shape mask so anything under it is clipped too. This opens a lot of possibilities and is probably the feature I am most happy about. Thank you Savage!
Selection Tool : Shapes added + Feather setting
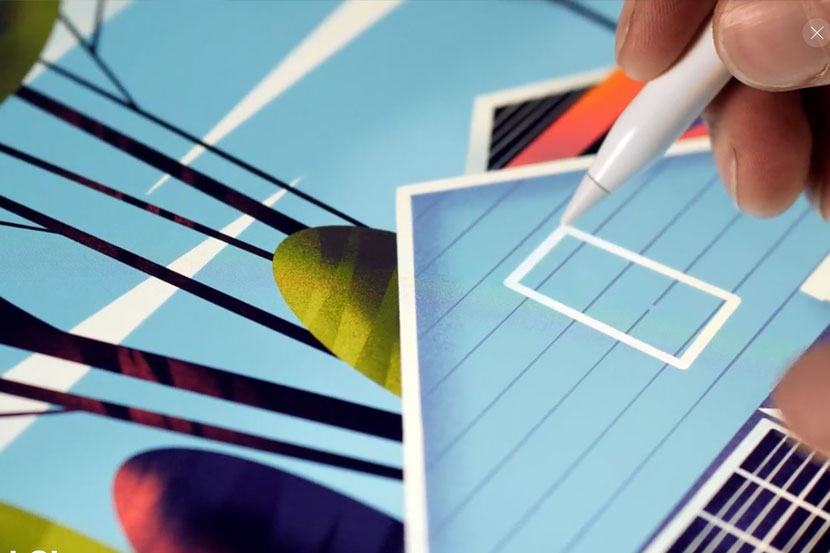
When using the selection tool, there is now the option to choose ‘Rectangle’ or ‘Ellipse’ to make precisely shaped selections. There’s also a setting for ‘feather’, which blurs the boundary of the selection and softens the outer edge.
QuickShape
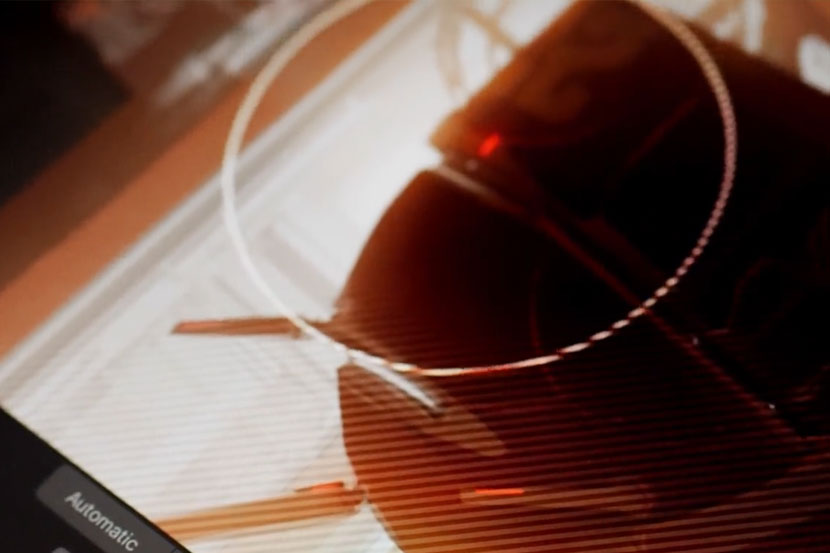
The QuickShape enhancement allows you to easily ‘correct’ a shape you are drawing straight on the canvas. So if you were attempting to draw a circle, you would follow through and draw the circumference, close the shape, then place the finger of your other hand on the screen. As if by magic, Procreate corrects the curve to form a circle! It works for many shapes : rectangles, triangles, arcs, and more. You can then edit points of the shape to adjust and fine tune.
Stroke Taper
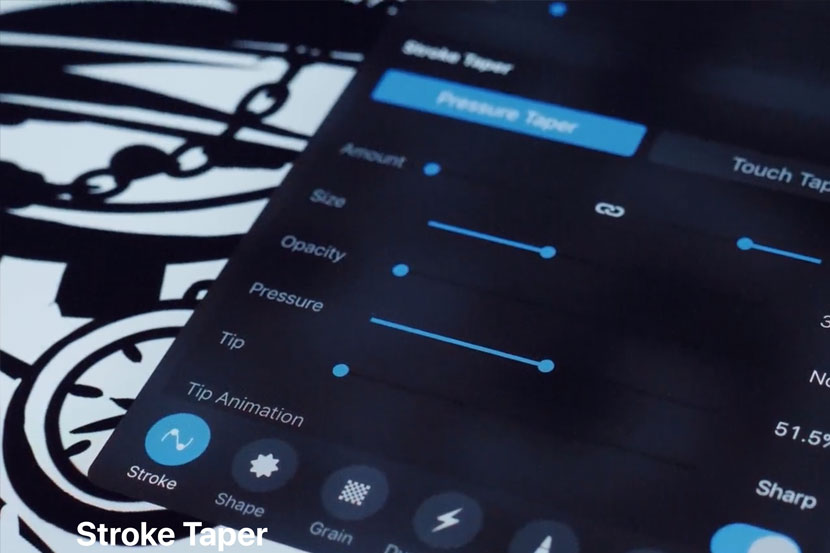
A stroke taper is the thin part of your stroke at the start or end. In calligraphy, we usually have our stroke set to taper at the end, on a release in pressure. The brush setting update allows a lot more advanced tuning to this preference and gives more customisable options to replicate real ink behaviour.
Should I Run a Backup of my iPad Before Installing Procreate 4.2?
As with any update, it’s always a good idea to backup before installing new software. The last thing you want is for anything to go wrong and you lose your artwork, or custom brush collection!
The easiest way to do a full backup, is to copy your entire iPad to iTunes. A restore of this will include procreate files, custom brushes and colour palettes.
Another option is to manually copy your files to a folder on your computer. If you plan to do this, make sure your file names are unique. Procreate doesn’t mind if you call every file you create the exact same name, but your computer will! Don’t forget to copy your brushes and colour palettes too!
I personally use a mix of methods, running a full iTunes backup for moments like this, regular automatic backups to iCloud, and manually transfer any particularly important files to my computer for safe measure.
Something that comes in handy for a computer backup of your pro files, is Jarom Vogel’s Procreate Thumbnail Viewer. By installing this plugin (if you own a Mac), you can preview the Procreate thumbnail image (as opposed to seeing a blank white box!).
See this article for more detailed information of the different methods for backing up.
