Procreate is an amazing app for digital art, but Affinity Designer brings some standout features to the table that perfectly complement its strengths. If you’re an iPad designer looking to take your creations to the next level, Affinity Designer might just be the ultimate creative sidekick. Let’s explore six features (beyond its powerful vector tools) that set Affinity apart.
1. Power Duplicate
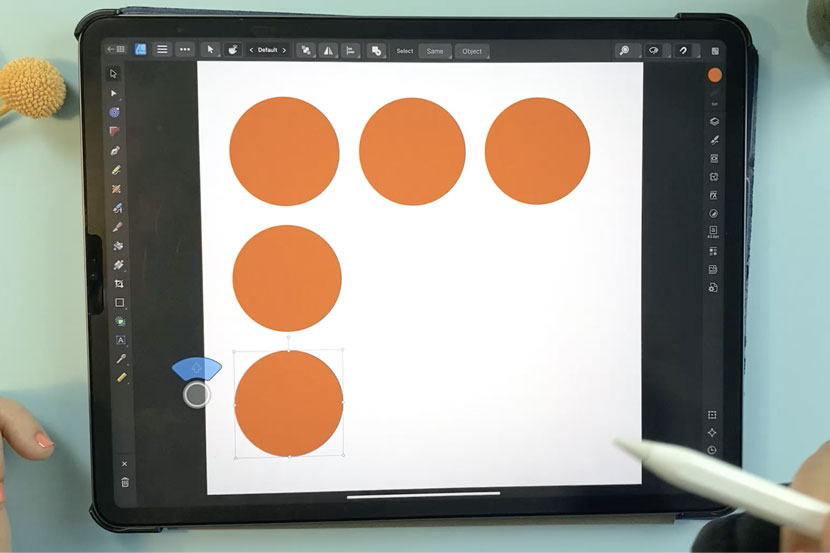
Affinity Designer’s ‘Power Duplicate’ is a game-changer for creating patterns or aligned designs. This feature doesn’t just duplicate an object—it also remembers the last transformation you applied, saving you time and effort.
Here’s how it works:
- Create a shape (e.g., a circle) using the Shape Tool.
- With the Move Tool selected, hold two fingers on the screen as a shortcut to duplicate it.
- Next, go to the Edit menu and choose “Duplicate.” Affinity will replicate the shape and apply the same movement automatically.
- To align shapes precisely, use the Command Controller and highlight the up arrow to keep everything in a straight line.
This feature is efficient, easy, and something Procreate doesn’t offer.
2. Text on a Curved Path
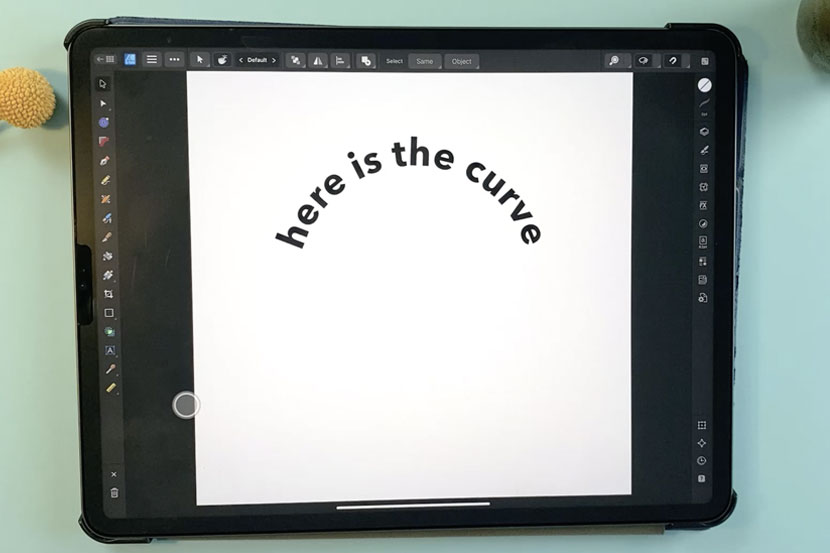
If you’ve ever struggled with creating text that follows a curve, you’ll love Affinity Designer’s ‘Text on a Curved Path’ feature. It’s a must-have for logo designs, invitations, and other creative projects.
Here’s how it works:
- Start by drawing a shape (e.g., a circle) with the Shape Tool.
- Select the Text Tool and tap directly on the path.
- Begin typing, and the text will automatically follow the curve.
- Use the green triangle to adjust the starting point of the text. You can also customize the font and size to match your design perfectly.
This feature gives you creative flexibility that’s hard to achieve in Procreate.
3. Alternate Characters (Glyphs)
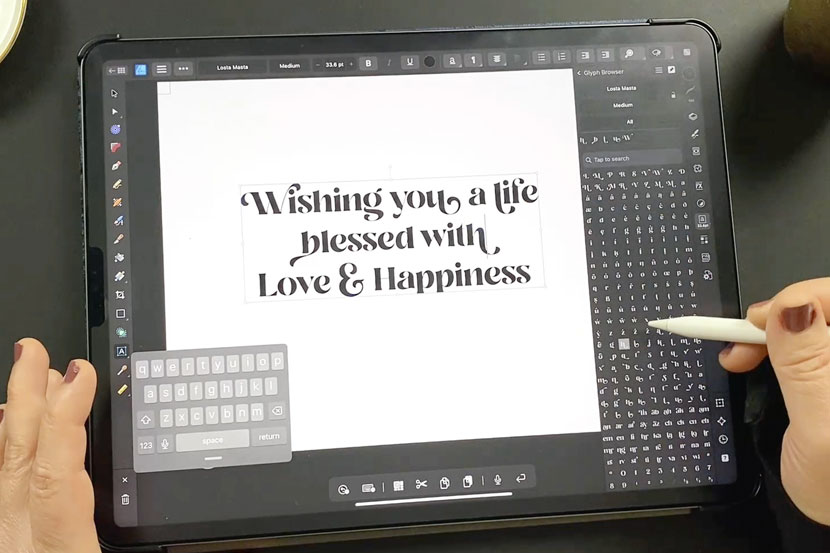
Many premium fonts include alternate characters or glyphs that add flair to your designs. Unfortunately, most iPad apps only support standard character sets. Affinity Designer’s Glyph Browser changes the game by giving you full access to these stylistic variations.
Here’s how it works:
- Choose a font that includes alternate characters (look for OpenType fonts).
- Highlight the letter you want to customize.
- Open the Glyph Browser in the Text Panel.
- Browse the available options, then double-tap to swap in your preferred character instantly.
This feature is perfect for creating customized logos, elegant invitations, or designs with a unique touch.
4. Margins and Bleed
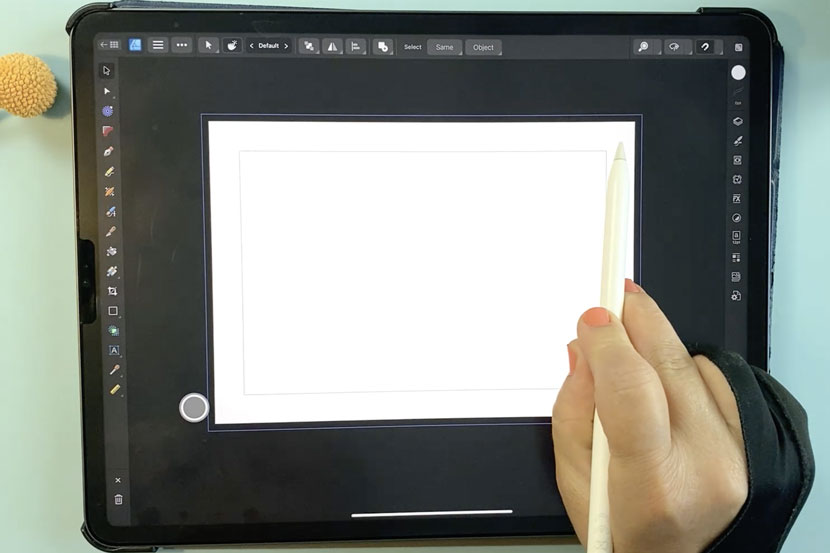
For professional designers, setting up margins and bleed is essential for print-ready designs. Affinity Designer makes this process seamless.
Here’s how it works:
- When creating a new document, define your margins to keep important content within safe zones.
- Set up bleed areas to extend your artwork beyond the edges, preventing unwanted white borders after printing.
- Ensure margins and bleed are visible by enabling them in the ‘View’ menu.
Whether you’re designing business cards, posters, or other print projects, this feature ensures your designs look professional and polished.
5. Adding Strokes to Shapes and Text
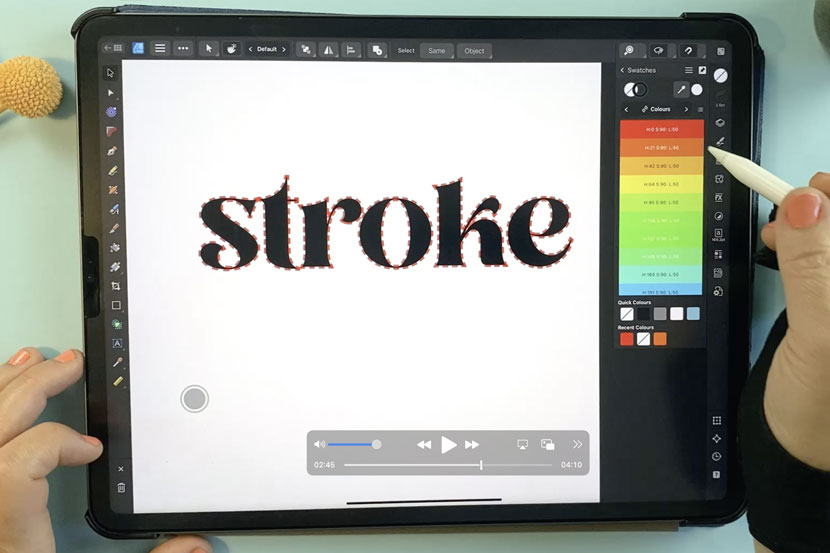
Adding strokes to shapes and text can elevate your designs with extra depth and style, and Affinity Designer makes it incredibly simple.
Here’s how it works:
- Select any shape or text in your design.
- Apply a stroke, adjust its thickness, and customize it with dashed lines or gradient effects.
- Because Affinity uses vectors, strokes and designs can be scaled infinitely without losing quality.
This makes it ideal for everything from social media graphics to large-format prints.
6. Live Pattern Preview
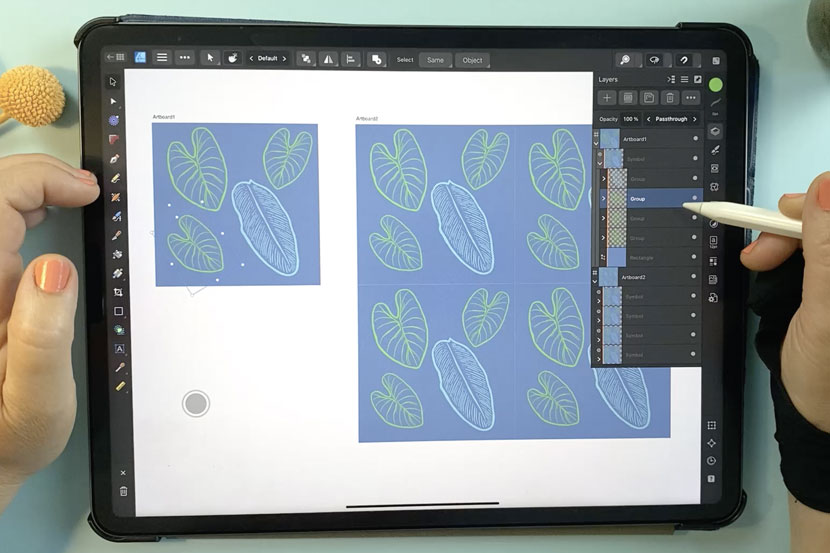
Creating seamless patterns is easier than ever with Affinity Designer’s Live Pattern Preview. This feature allows you to see your pattern repeats in real-time as you work.
Here’s how it works:
- Create your initial design elements.
- Create a Live Pattern Preview using Symbols to see how your design tiles.
- Make adjustments directly within the app, ensuring seamless and professional-looking patterns.
Unlike Procreate, where you’d need to test patterns in a separate app, Affinity Designer keeps everything in one place saving you time and frustration.
While Procreate remains an incredible app for digital art, pairing it with Affinity Designer unlocks a whole new level of creative possibilities. From tools like Power Duplicate and Live Pattern Preview to features like Text on a Curved Path, Affinity Designer’s capabilities make it a fantastic complement to Procreate.
If you’re ready to explore Affinity Designer in-depth, check out my full quick-start guide. It’s packed with tips and tricks to help you get started!
