It’s becoming more and more popular to see lettering intertwined with either photography or illustrations. The use of shadows and shading help give the illusion the lettering is set within the design.
In this tutorial, I’m going to show you how you can create this effect using illustrations. We’ll start by drawing the lettering itself, then bring in rose design elements. We’ll erase parts of the lettering to look like it’s weaving through the roses, and finish off by adding shadows and shading detail.
We’ll being using Procreate and the iPad, so you don’t need any other graphics applications to follow along.
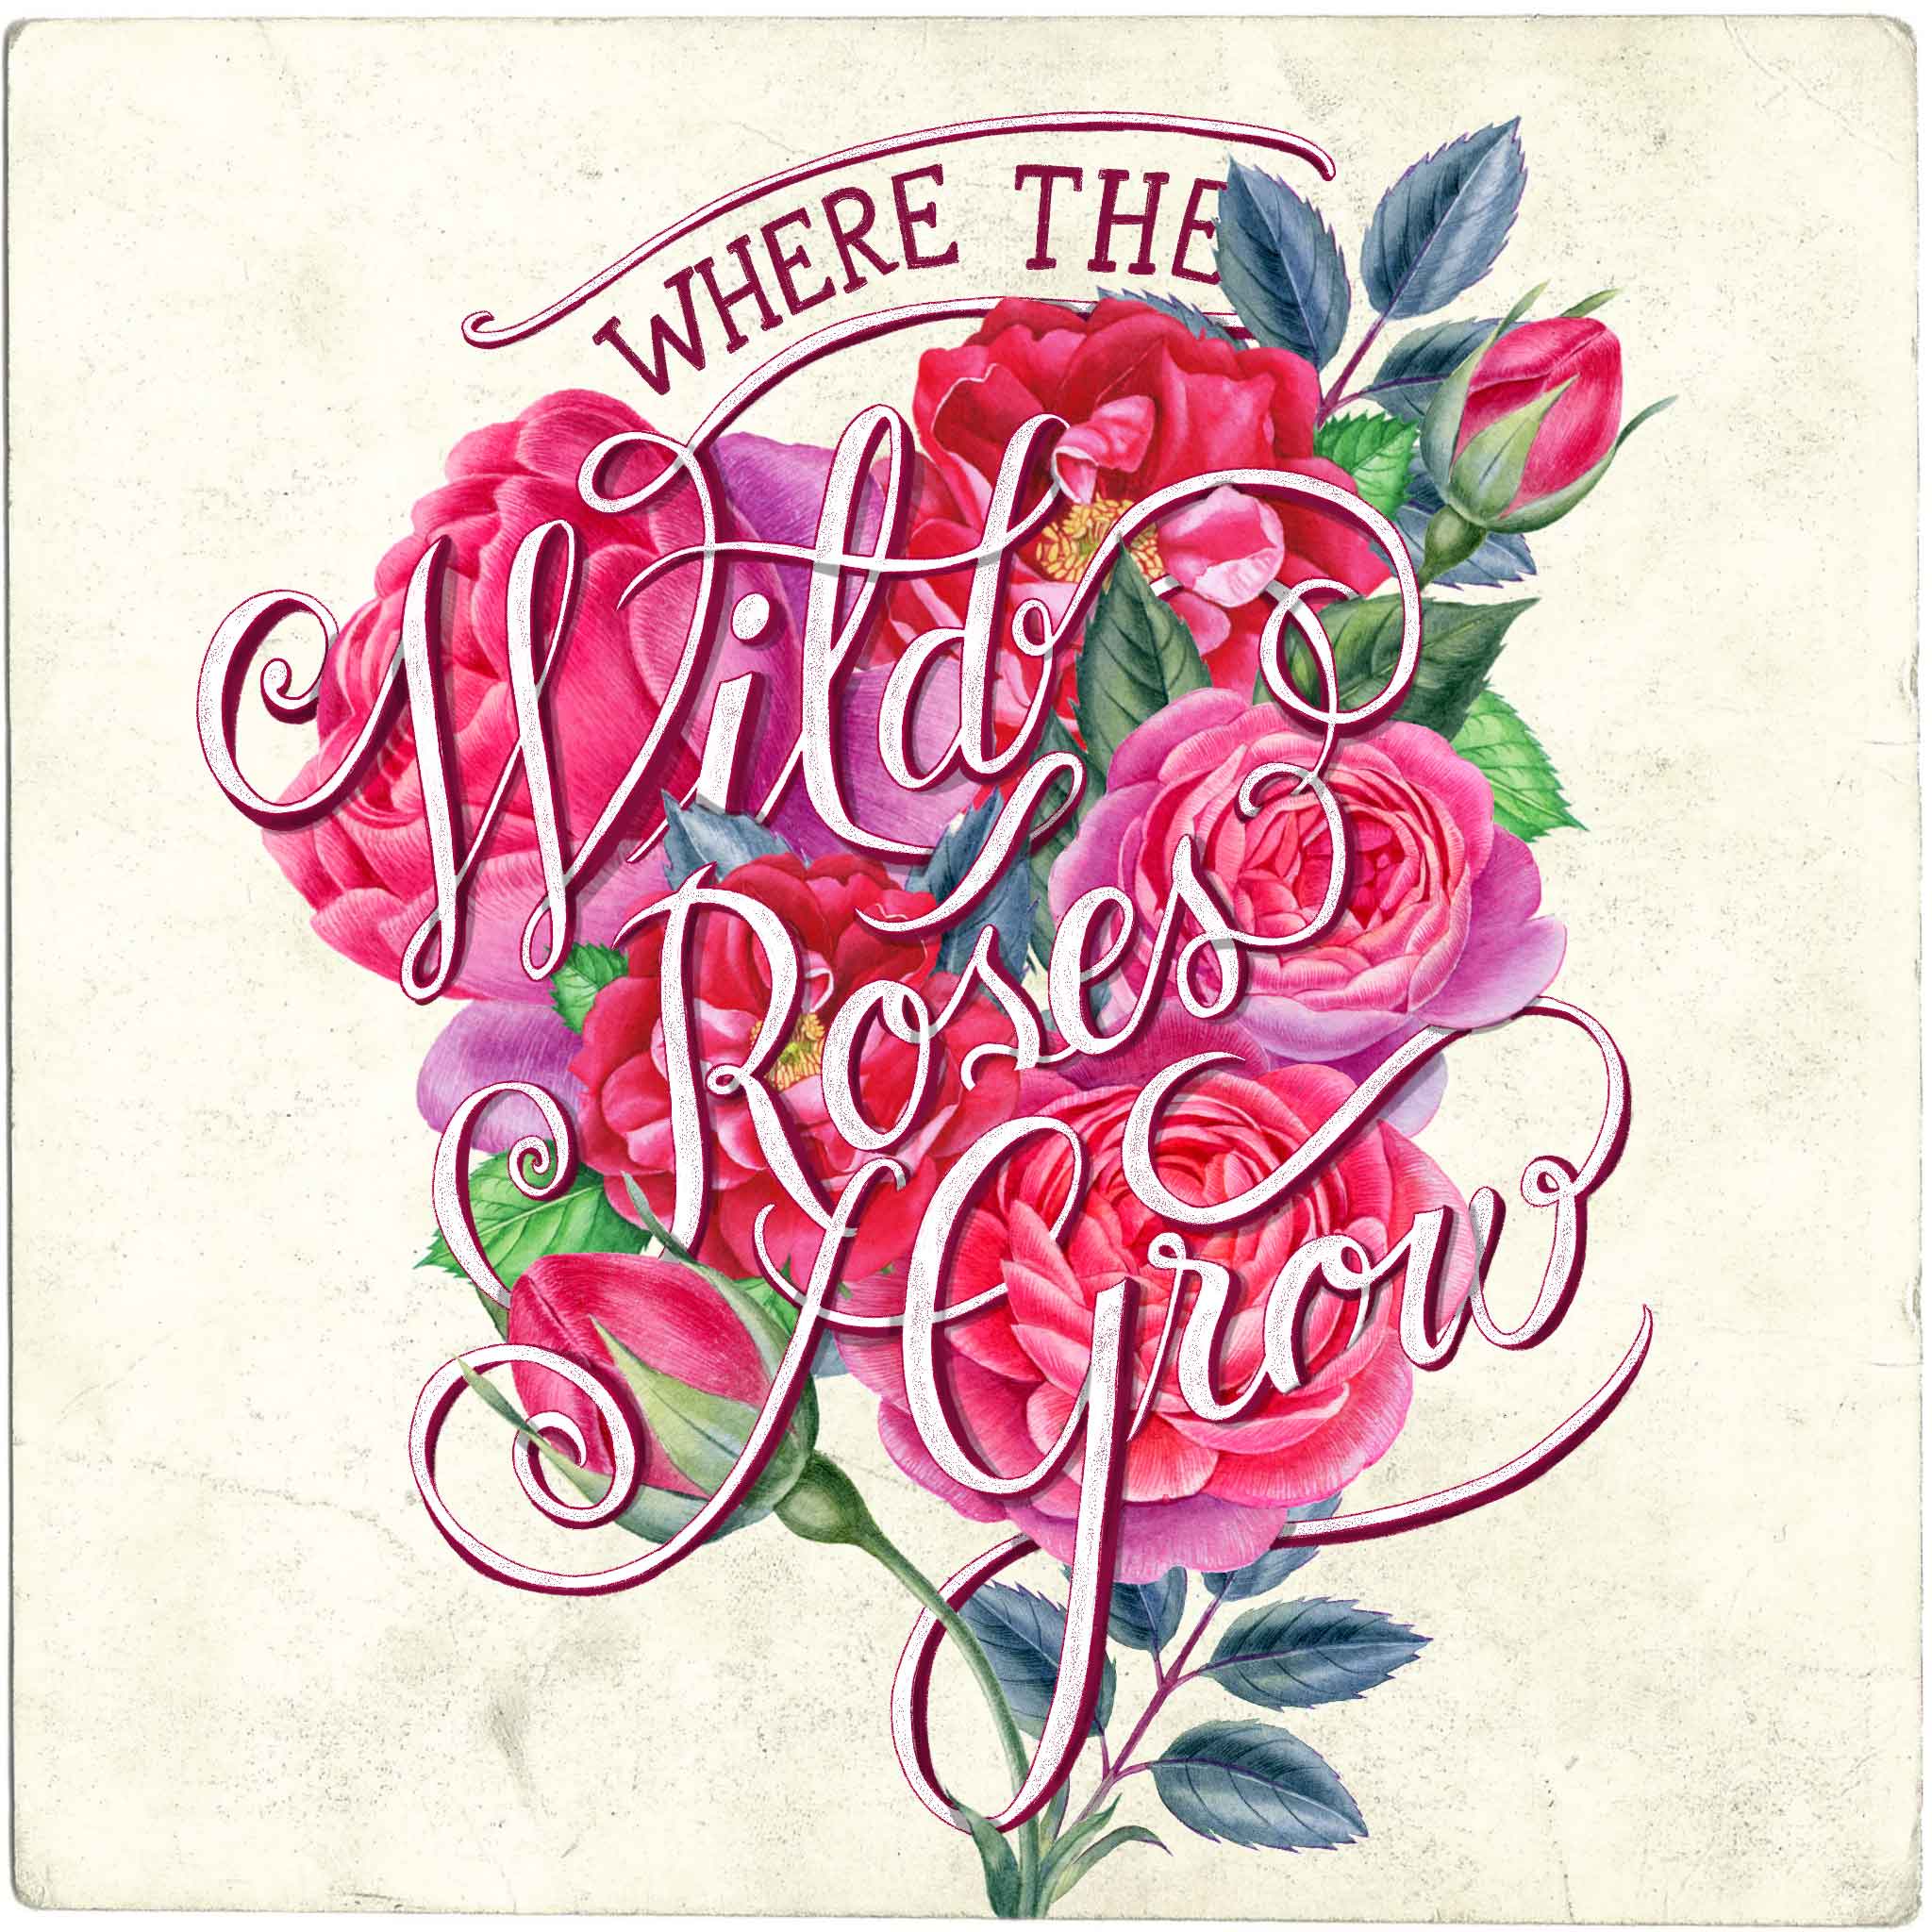
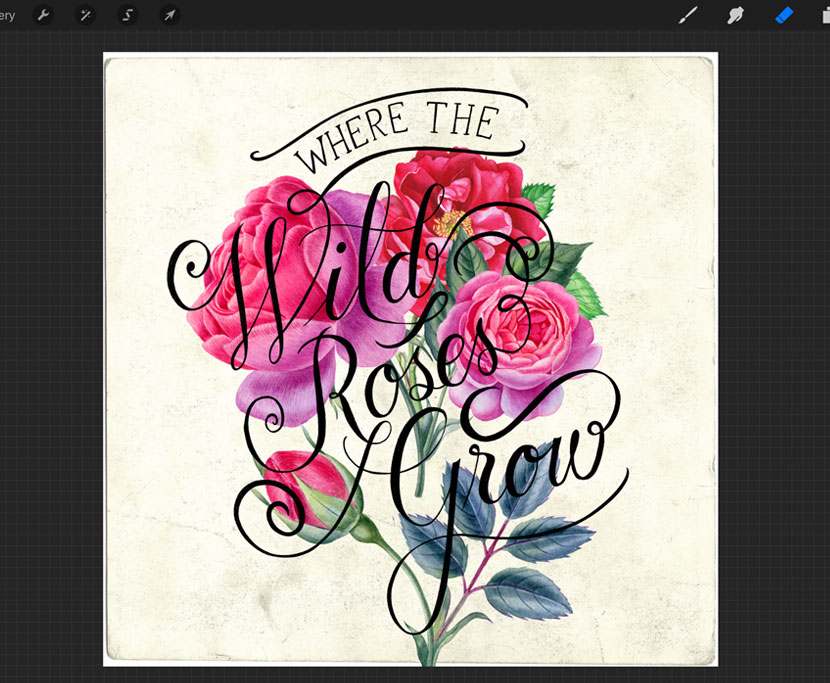
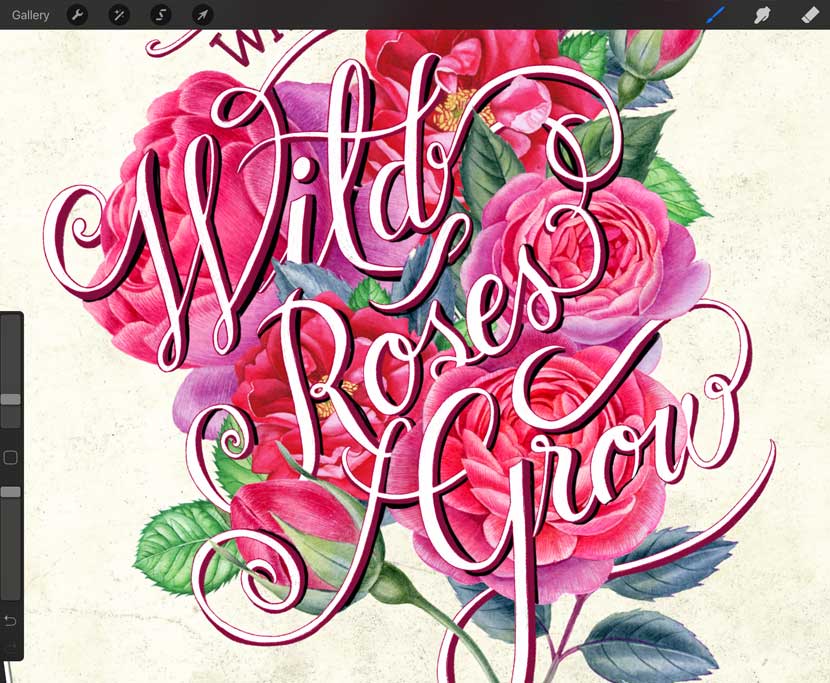
Here is what we’ll be making.
What you will need
You can use any brush you like, though I am using the ‘Kids Coloured Pencil ’ which is available in this free download sample pack.
We’ll also be using one of the images included in this free postcard texture pack from Spoon Graphics for the background.
And finally, our lovely rose illustrations from Creative Market.
1. Draw your Lettering
Step 1
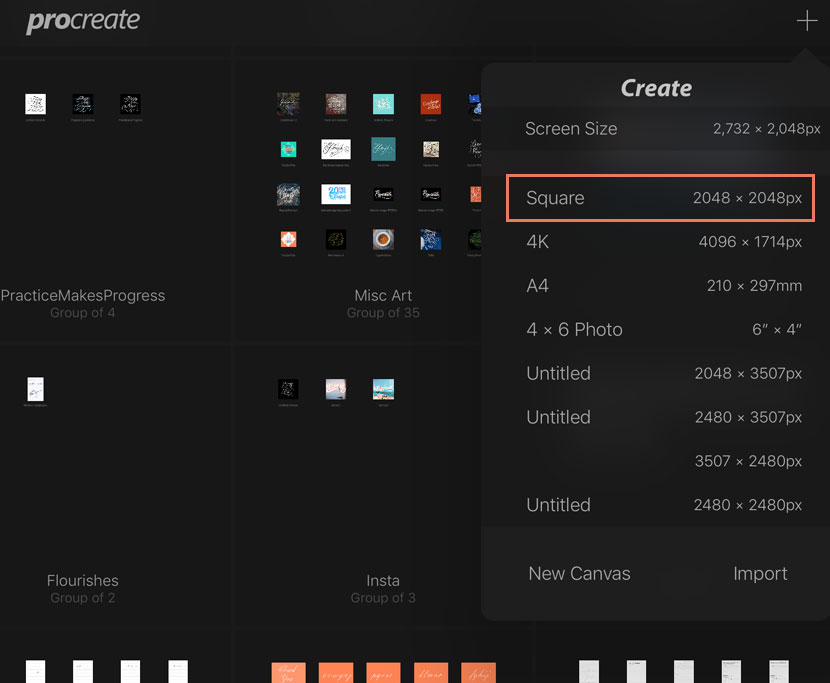
Start by creating a new Procreate document by clicking the ‘+’ icon and choose ‘Square 2048 x 2048 px’.
Step 2
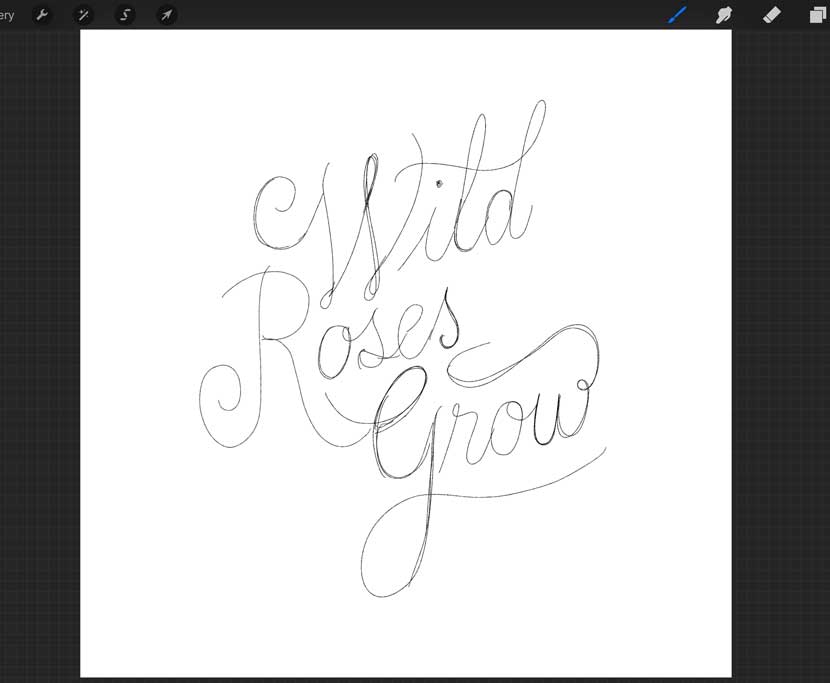
Loosely sketch the general layout for your lettering incorporating a few flourishes throughout the script. These will then weave under and over the design to enhance the effect.
Step 3
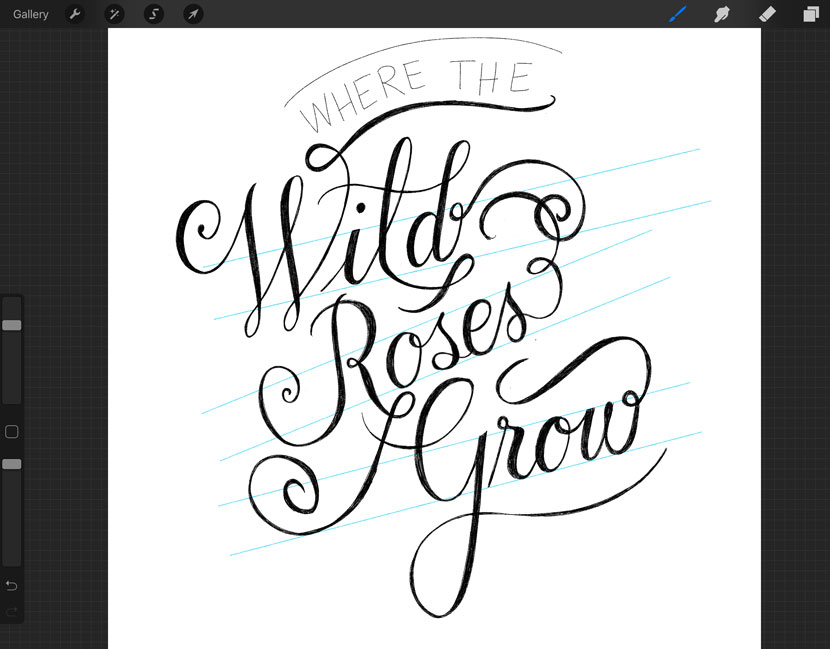
Once you’re happy with the positioning of the words, draw some guidelines to help keep your lowercase letters a consistent size. I tend to use a light blue for guideline colour so it’s easier to see. Make sure these are on a separate layer so you are not drawing lines on your artwork layer!
Pro Tip: To draw your guidelines, start drawing the line and hold your pencil down at the last point. It will snap into place giving you a perfectly straight line. You can then duplicate this and move it up to create your guidelines height. Merge into one layer and duplicate to use the same height for the rest of your lettering.
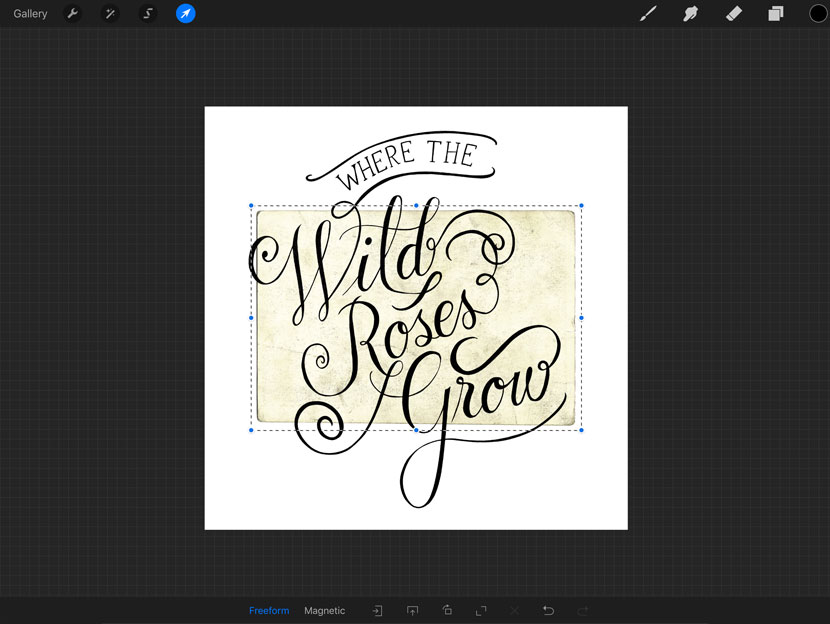
Step 4
Create two new layers ontop of your sketch reference and start to build up and refine the form of your lettering. There is a lot of detail in the design elements we will be adding, so it will help readability to use a fairly thick stroke width.
Make sure to draw the words “Where The” on a separate layer to rest of the lettering, as they will be in a different colour (we will change this later).
2. Import the Postcard Background
Step 1
Next we want to insert the textured postcard background image. Within the download, you’ll see a folder called ‘Blank Postcards’. We will be using the image ’16.jpg’. Save this in a location you can access from your iPad (Dropbox or iCloud).
In your Procreate file, choose the wrench icon and ‘Insert flat image’. Navigate to the location you saved your blank postcard image and import it.
Step 2
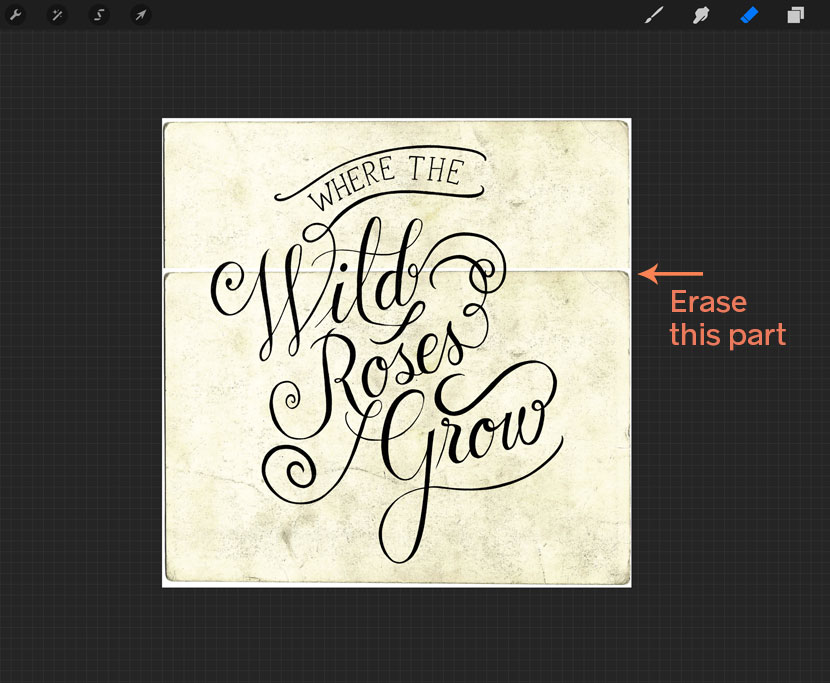
We want our postcard texture to fill the background. To do this, enlarge the image so it fills the full width and position it at the top of your canvas.
We don’t want to distort the image, so we’ll fill the height separately. Duplicate the layer by swiping to the right and tapping ‘Duplicate’. Select the move tool (the arrow icon) and move the layer down so it fills the height of your canvas. Be sure that the left and right edges of the postcard graphic match up.
Then Select your Eraser tool, and rub out the top edge of the postcard on your duplicated layer so is seamless and looks like one image.
Pro Tip: A quick way to merge layers is by ‘pinching’ them together from within the layers panel.
3. Import the Rose Images
Step 1
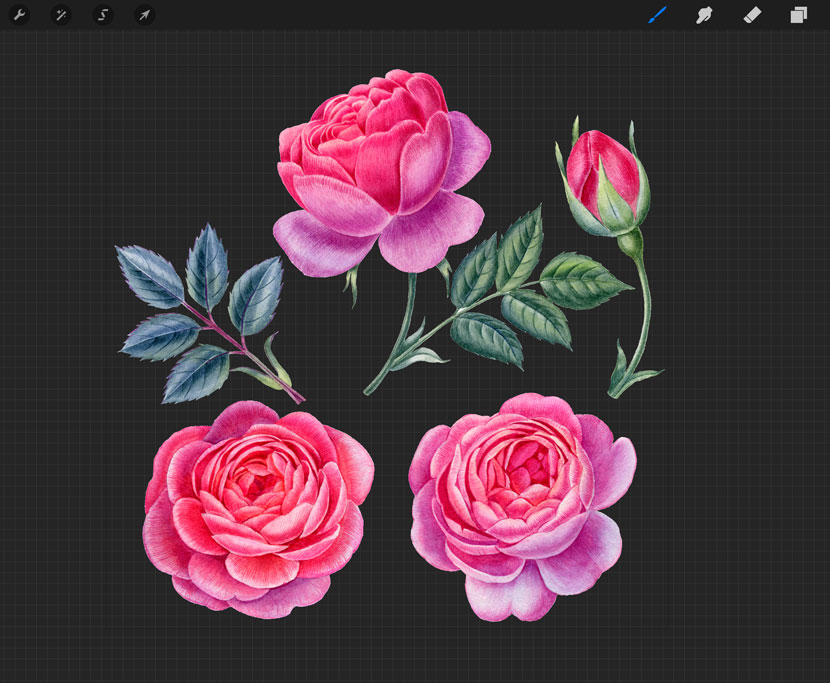
Now it’s time to bring in the roses!
Once you’ve downloaded your Rose Illustration pack, and saved it in a location you can access on your iPad (like Dropbox or iCloud), import the file called ‘roses set.psd’ into a new Procreate document.
This .psd file contains all the isolated rose elements we’ll use to build our layout.
Step 2
Bring each of the rose layers one-by-one into your main artwork file by selecting the layer and swiping 3 fingers down the screen. This will reveal your Copy and Paste actions. Choose Copy, then return to your artwork file and paste the rose layer in the same way (3 finger swipe to paste). Repeat this until you have all the layers in your design file.
It’s a good idea to name your layers as you go so you don’t get confused once they start piling up! To do this just click on the layer in the panel and tap ‘Rename’.
Step 3
Once you have all the roses layers imported into your main artwork file, you can begin to arrange them to create the design. You don’t need to have it exactly the same as mine, but just build up the layers by duplicating, scaling and rotating them to give a nice background behind your lettering.
Look for places you can position the roses that give the impression petals or stems are coming over the top of your lettering. You might want to erase some leaves and stems to reduce having too much detail going on. Make sure the roses are behind the words to make it easier to read.
4. Erase Parts of your Lettering
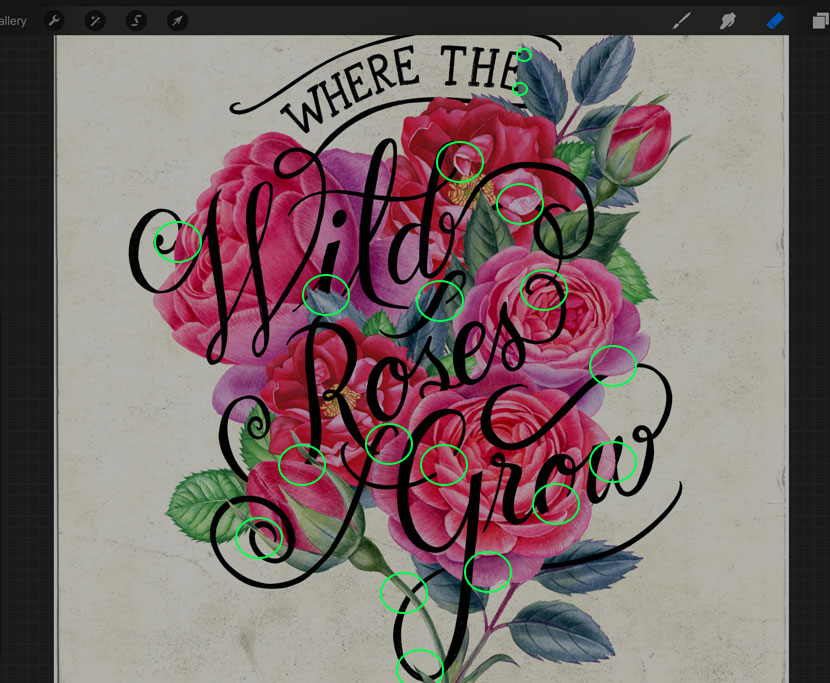
Step 1
To give the effect that elements of the roses are coming over the top, we want to erase parts of the lettering. Look for natural places you can give a layered illusion. Leaves work really well and some of the petals have enough visual depth to embed parts of the letters. Play around until you feel it’s fairly integrated.
Before you do this, make sure to duplicate the original lettering layer. That way you can always go back should anything go wrong!
5. Change the Colour and Add an Outline to your Lettering
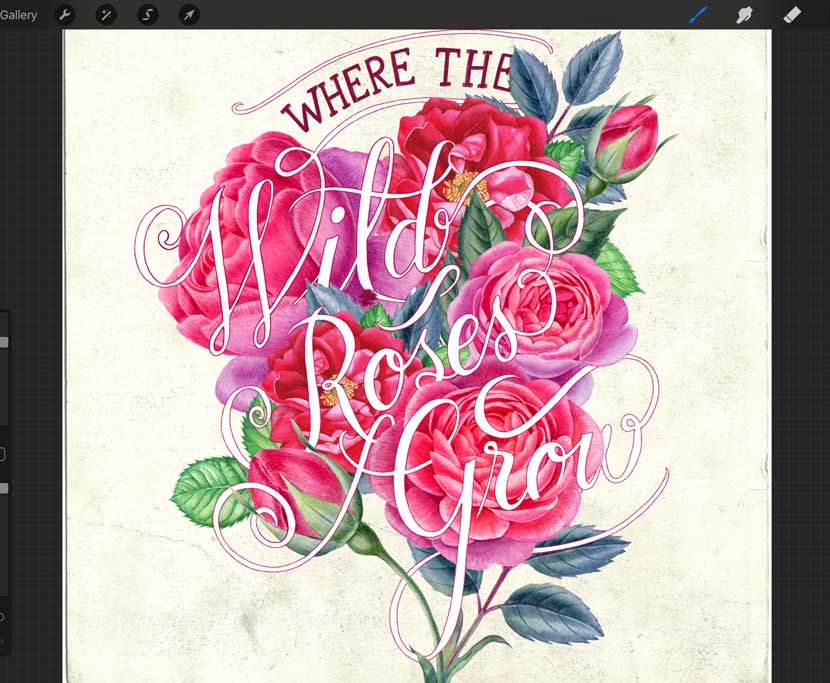
Step 1
Next we want to change the colour of the lettering layer to white for all but the top line of text.
Make sure your ‘Wild Roses Grow’ layer is selected and in the layers panel, swipe to the right with two fingers. This will lock the transparency on this layer and allow you to fill the artwork with colour.
With your colour set to white, zoom in fairly close and drag the white colour circle directly onto the lettering. This will fill only your lettering while keeping the background transparent.

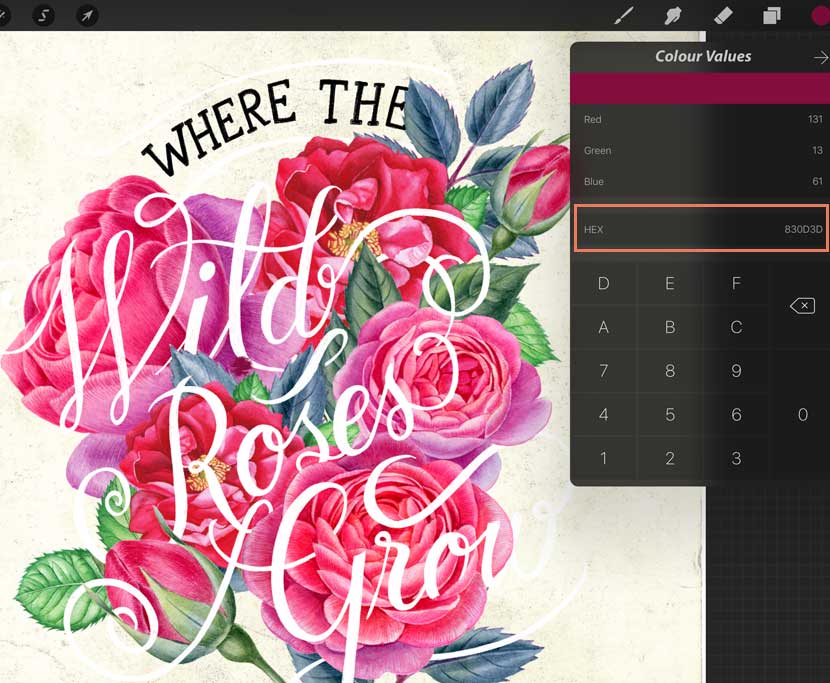
Step 2
Now change the colour of your ‘Where The’ layer to a deep red. Tap the colour circle to reveal the colour panel and tap the icon in the left corner. This will bring up the colour value panel. Enter ‘830D3D’ in the HEX field.
Make sure you have the correct layer selected, swipe to the right with two fingers to lock the transparency, and drag the colour circle onto your lettering.
Step 3
Next, we’ll add a red outline to the ‘Wild Roses Grow’ text. Create a new layer above the lettering layer. Set your colour to HEX ‘B60545’ (in the same way as we did in the previous step), and draw a red outline around the text.
6. Add a Drop Shadow to your Lettering
Step 1
Set your colour back to the deep red (HEX value of ‘830D3D’). Create a new layer under your lettering but above the rose layers.
Draw quite a large drop shadow off the right edge. Try to imagine a light source shining from the top left of the design, casting a shadow under the bottom right of the letters.
Pro Tip: If you change your colour value and want to go back, hold down the colour circle and it will return to your previous selected colour. Press and hold it again to swap back.
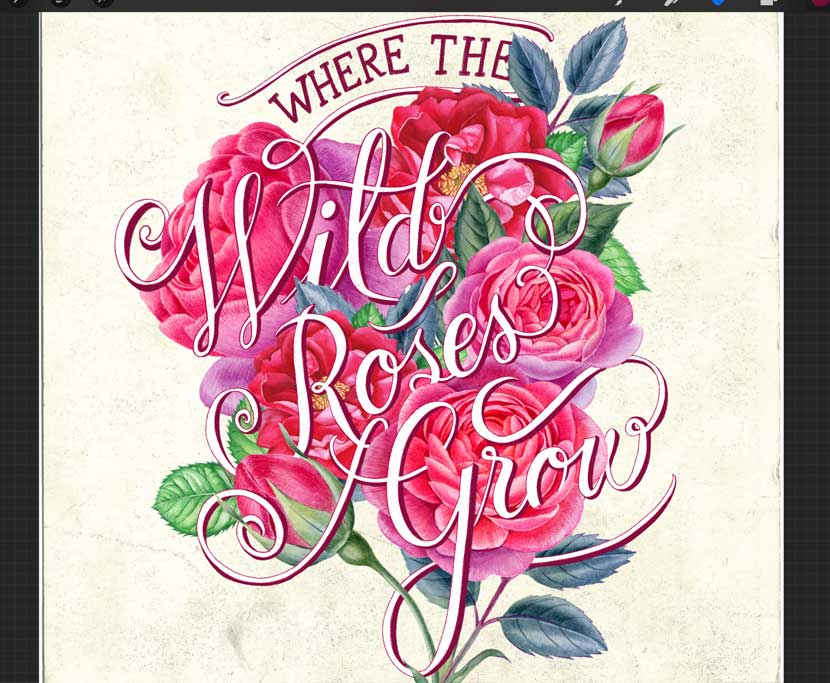
7. The Finishing Touches
Step 1
We’re almost done! Now we need to add a bit more shading to make the lettering look more integrated with the design.
Set your brush to the ‘Soft Airbrush’ (that comes standard with Procreate under the ‘Airbrushing’ set). Make sure the colour is black, and create a new layer under your large drop shadow. Add an extra shadow, thinner than your main one, anywhere the rose elements appear are underneath. Don’t worry if you extend over areas, just use your eraser to remove.
When you are done, reduce the opacity to 30%. (You can find the ‘Opacity’ settings under the Magic Wand icon in your top toolbar).
Step 2
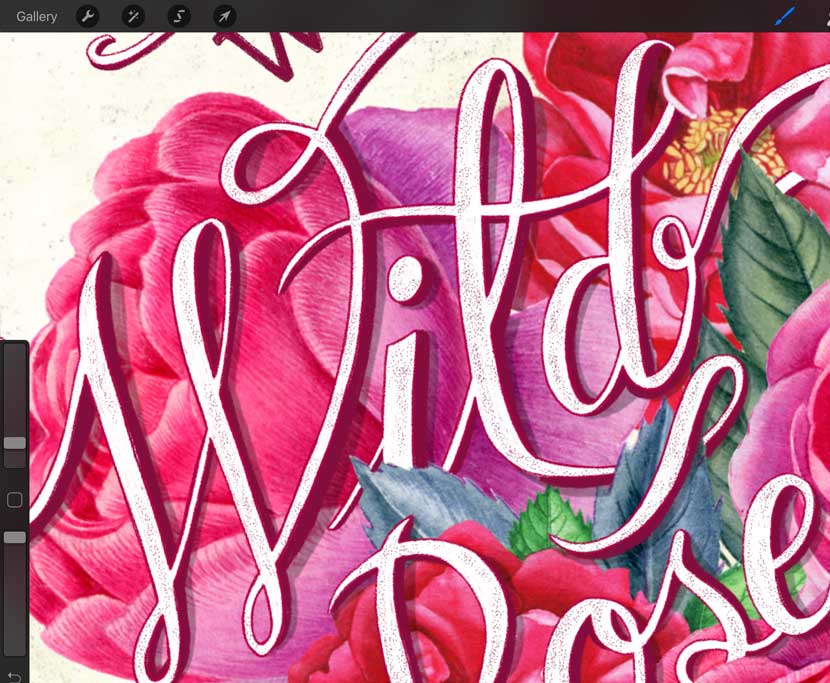
Finally, we will add a bit of texture to the main lettering to give it a more worn look.
Within your free brush sample download, there is a brush called ‘Dots 2’. Select this brush and set your colour to the deep red (HEX value of ‘830D3D’). On a new layer above your lettering, draw this dotted texture over the white areas.
We don’t want this to look to heavy or consistent, so when you are done, you can go back over with the eraser to give it a more sporadic feel.
That’s it! We are done! You have a lovely lettering piece that is nicely integrated with beautiful illustrations.
I hope you enjoyed this tutorial. Please leave any comments or questions below.