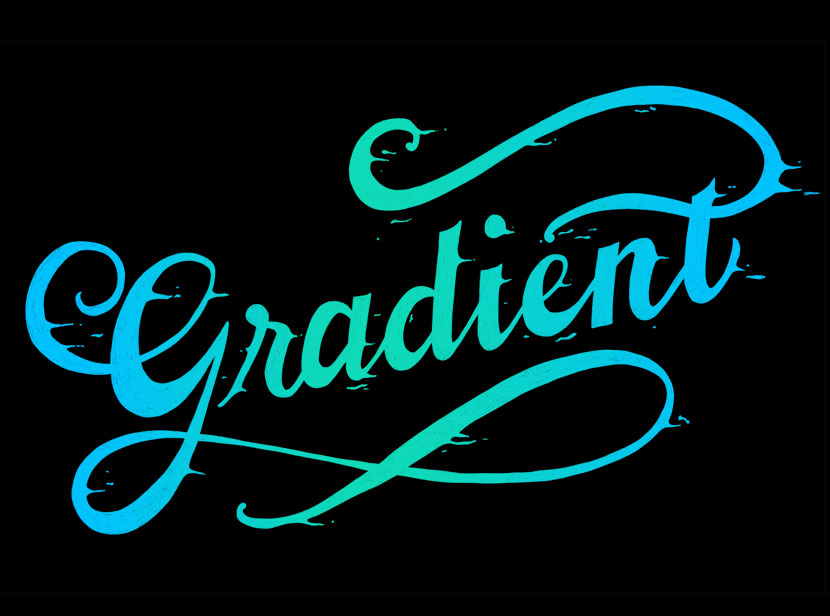
Have you noticed a trend at the moment to use gradient fills for lettering? It seems to be everywhere and I for one am happy because I love this effect!
Being that it’s the first Thursday of the month (that’s freebie Thursday to the newbies), I thought I’d not only show you how I achieve this style, but also give you some free gradient brushes so you can try it out for yourself!
So head over to the shop and download your free gradient brushes using the box below. I’ll wait here.
Got them ready? Great. The pack contains five different styles of gradients. We’ll be working with the brush called ‘Gradient Center’ today.
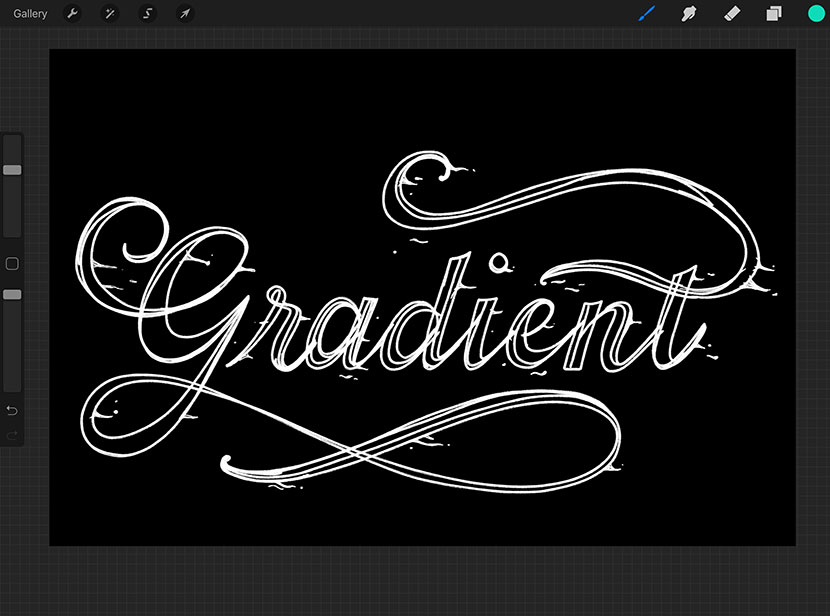
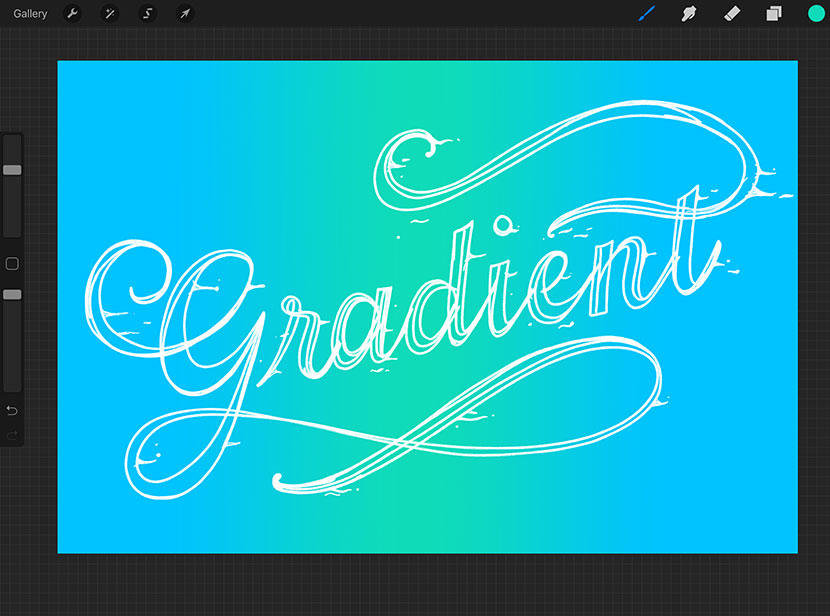
The below image is the effect we will now create.
1. Sketch an Outline of Your Lettering
Step 1
We’re going to start with a rough sketch of our lettering. You can use the same word and style as me or choose something else. I recommend a thick stroke script for best results.
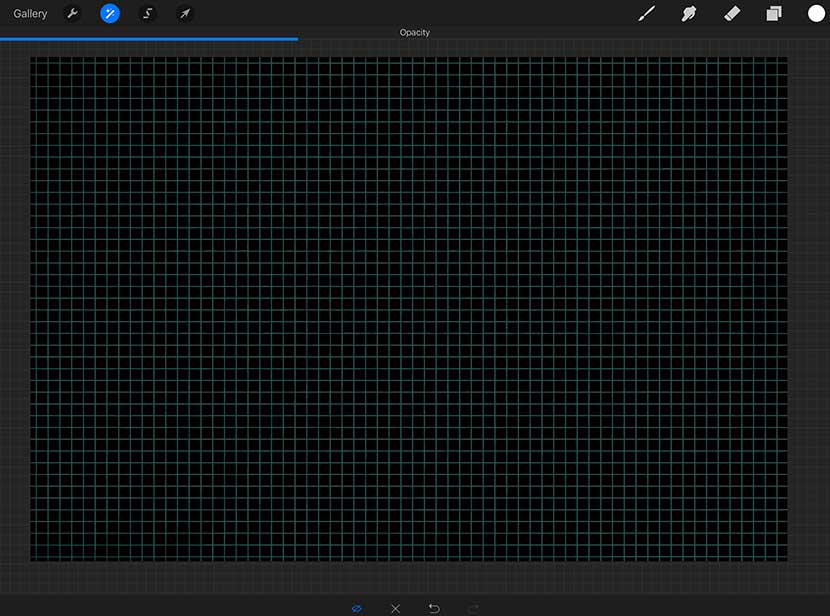
Start by creating a new Procreate document at 2732 x 1820 pixels.
Tap on the background layer from your layer panel and choose black for the colour.
If you feel more comfortable using guides, you can either download these free guide brushes, or create your own guidelines. I’m using my free ‘Square Grid‘ brush to help keep the lettering a consistent size. To follow this method, create a new layer and choose a light blue for the colour (by tapping the colour icon in the top right). Paint the grid pattern without lifting your brush.
Tap the Magic Wand icon in your top toolbar and reduce the opacity to about 30%.
Step 2
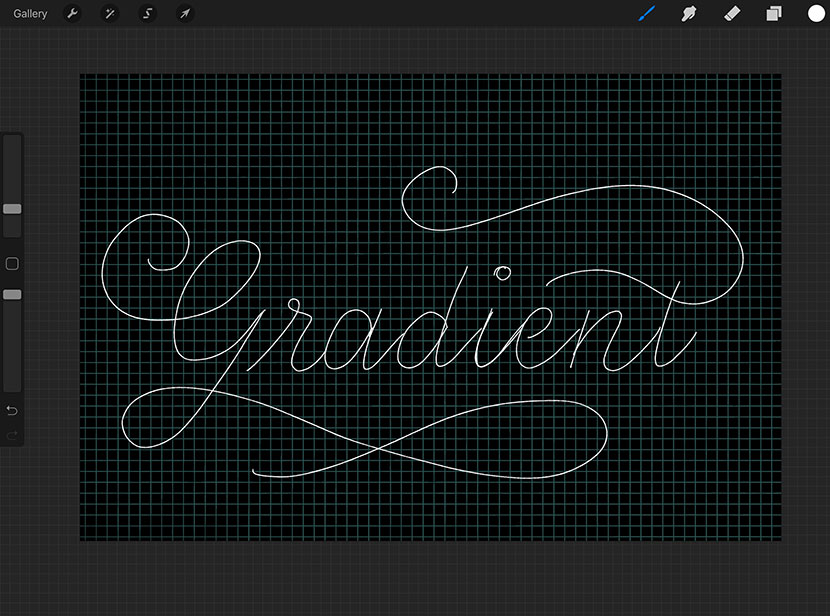
Now create a new layer above your grid layer. Change your colour to white and choose a pencil brush (or something similar you like to use for sketching).
Using the grid as a guide, sketch out the skeleton of your lettering. Don’t worry about getting it perfect, we’ll refine the shape in the next step. Space your letters so there is room for the stroke width. Add any flourishes you’d like to include.
Step 3
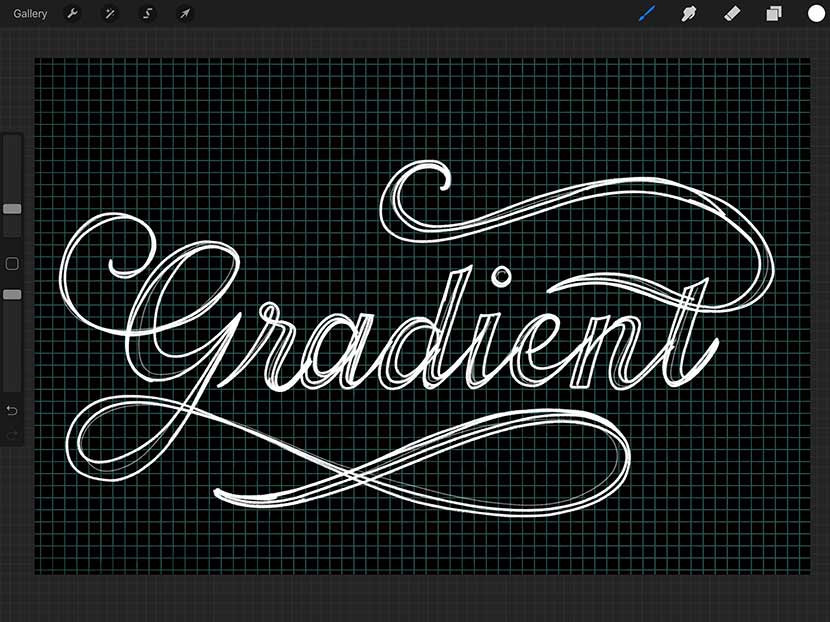
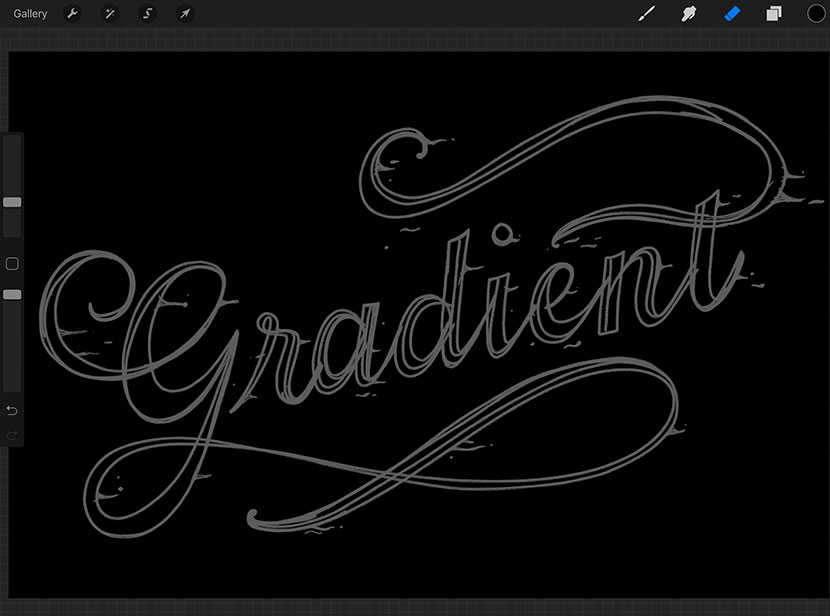
Next turn the down the opacity on your skeleton outline and create another layer above it.
Expand your letters by drawing an outline to create the form. You can repeat this refining stage as many times as you need until you are happy. Simply turn the opacity down on your reference layer, create a new layer above it and continue to refine the shape.
Step 4
This next part is optional. I chose to add some dots and drips coming from the letterforms to break up the form and give the impression the text was dripping or interacting with the light. If you want to have a go, try and keep the ‘drips’ moving in the same direction.
2. Create your Gradient
Step 1
When you are happy with the shape of your lettering, we’ll put this to the side for the moment while we create the gradient. Turn off the visibility of your lettering and guide layers so just your black background is showing.
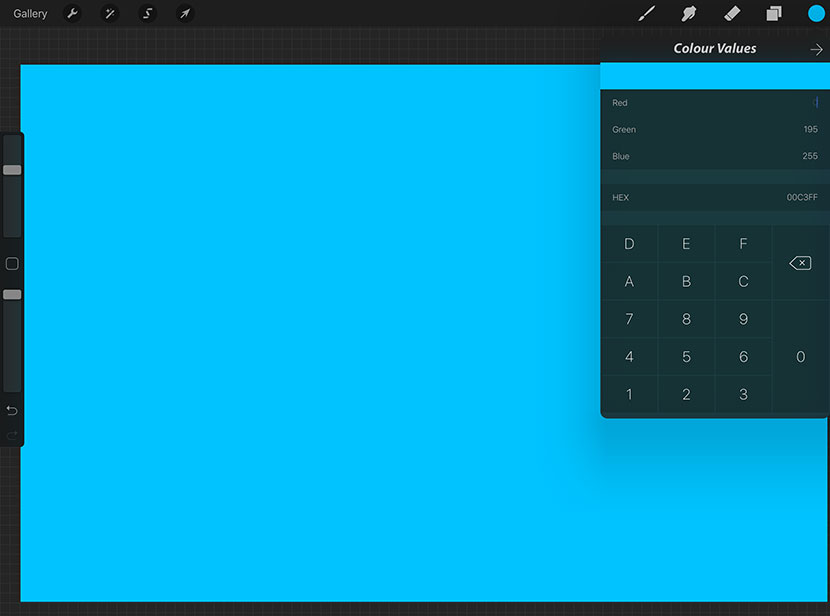
Now choose two complimentary colours to create your gradient. I’m using #00C3FF & #0FDBB8, but you can choose any combination.
Note: This website is very handy for gradient inspiration, and it even gives you the HEX reference colours too!
Once you’ve decided on your two colours, create a new layer and set the value of your first colour (tap the colour icon at the top right of your toolbar). To enter the HEX code value, tap on the 3 lines on the left side of your colour panel. Enter the 6 letter/number code in the HEX field. In my case, my solid fill colour is #00C3FF.
Create a new layer, and drag the colour circle icon onto the canvas to fill the layer.
Step 2
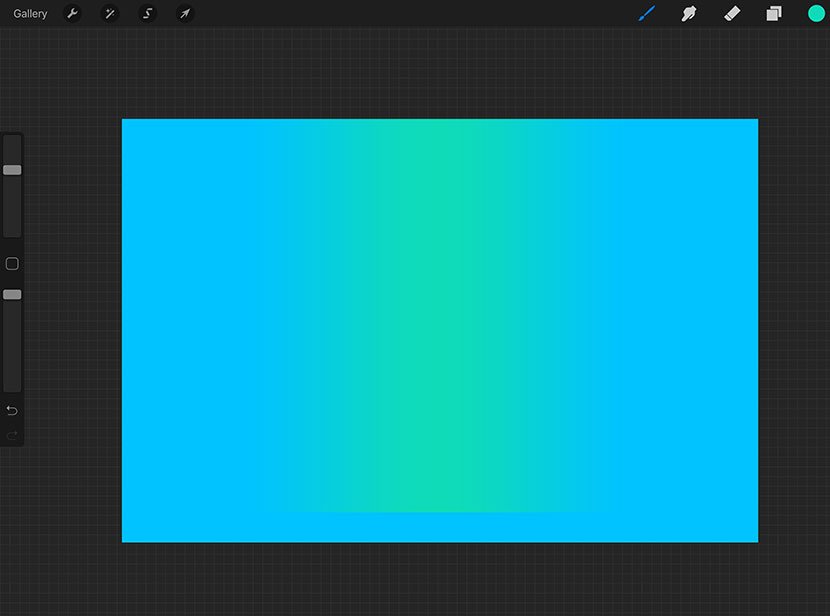
Change your colour value to your second chosen colour. Mine is #0FDBB8. Create a new layer and select the Gradient Brush called ‘Gradient Center’ from the pack you downloaded.
Tap your pencil on the canvas close to the center to ‘stamp’ your gradient.
Step 3
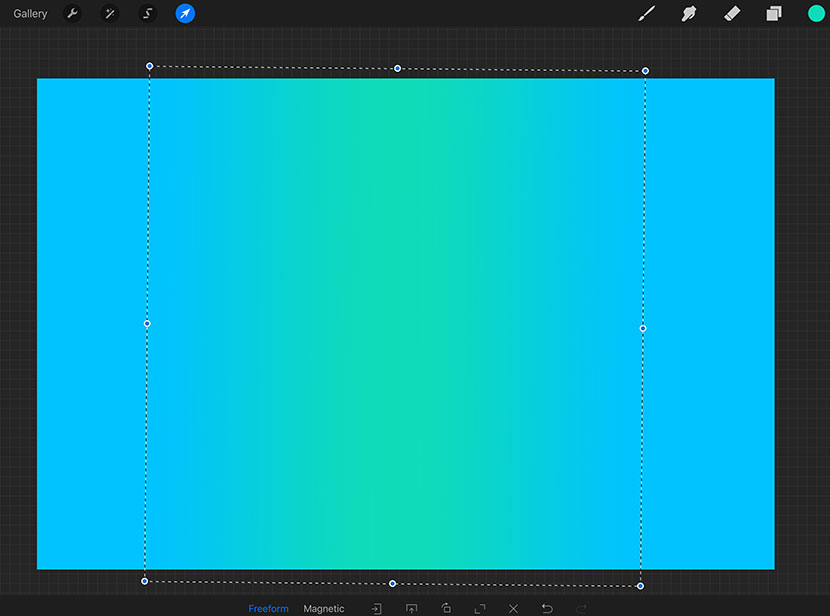
If you’re gradient didn’t quite fill the canvas, don’t worry. Either undo the gradient fill (by tapping two fingers on the screen) and enlarge your brush size. Or just choose your selection tool (the arrow) from the top toolbar and enlarge the layer to fill the vertical space.
3. Create your Lettering Mask
Step 1
We are now ready to create a mask of our lettering revealing the gradient underneath.
First, turn the visibility of your lettering reference layer back on and rotate it to a slanted angle.
Step 2
Next, create a new layer below your lettering reference, and above your gradient layers. Fill this new layer with solid black.
Turn the opacity of your lettering reference layer down to about 35% so you can still see it but it’s not distracting.
Step 3
This is the time to check your lettering reference layer is nicely centered. You will be able to shift your mask layer around if needed (and just fill any gaps between the layer and the canvas edge with black). It’ll just be easier if you get the placement right before you work with your mask.
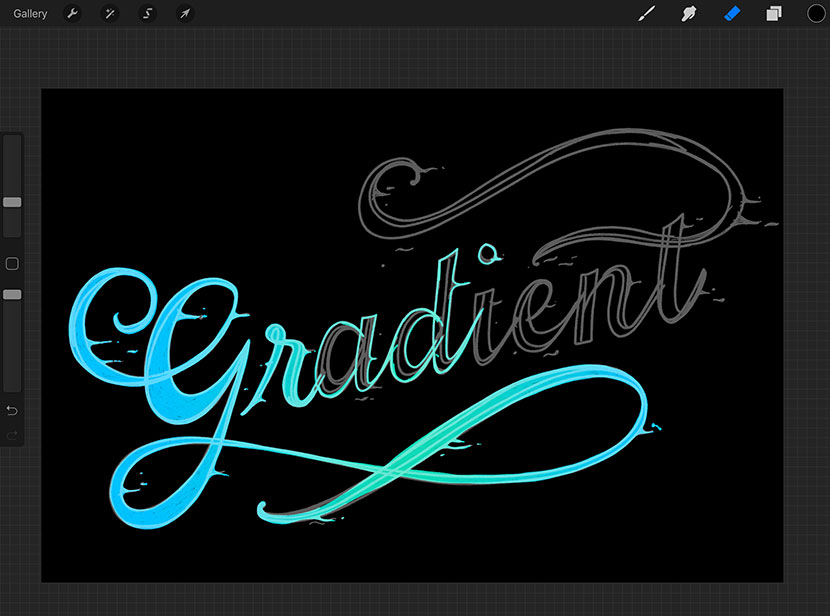
Make sure your black layer is active, and instead of a brush, we are going to use the eraser to remove the black colour in the shape of our lettering! Choose a textured brush at a smallish size to use for the eraser.
Start by erasing an outline of the letterforms from the black layer. Once you have this, you can turn off your reference layer for better visibility. Next go back over and erase the full shape.
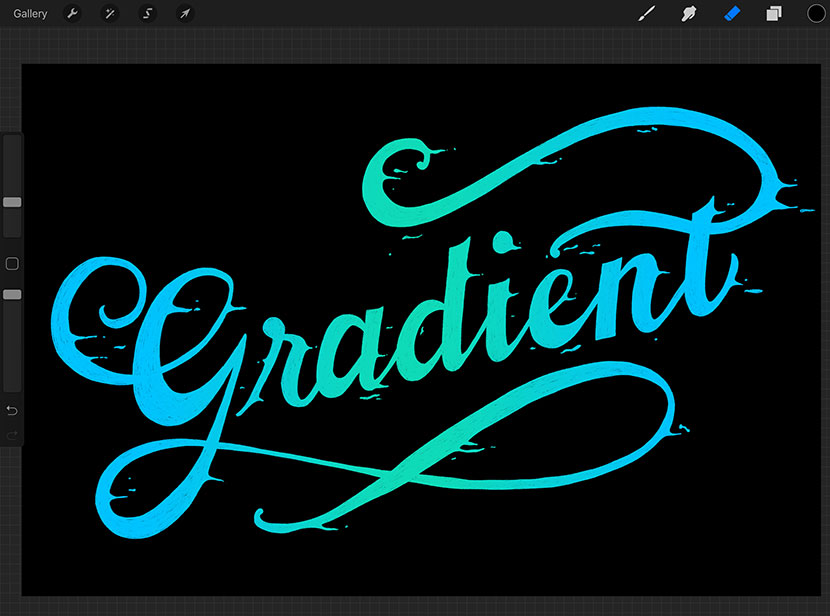
And it’s as easy as that! You now have a striking gradient fill for your lettering. You could add a white outline and even experiment with the ‘smudge’ tool if you want to enhance the effect.
I hope you enjoyed this tutorial. I would love to see what you make with your new gradient brushes, just tag me on instagram – @nicolemauloni
Laura
amazing. thanks from Italy.😘
Nicole Mauloni
You are most welcome, Laura 🙂
Odette
Thank you for the tutorial !
It was easy to follow and got me thinking about more possibilities…
Nicole Mauloni
Thank you, glad you enjoyed it Odette!
Hebeljennifergrace
Im stuck somewhere after making the gradient. I got the black Layer in but I’m very confused about what happens next and exactly the order of the layers.
Nicole Mauloni
Hello! Thanks for reading. The layers in order of top to bottom are :
1. Lettering reference layer
2. Black fill layer
3. Gradient Fill layer
This is so you can erase the black fill to reveal the gradient underneath.
Hope that helps!
lee hyunjung
thank you~!
Because of you and this amazing tool(?), I am also thinking about my possibility. ????
Nicole Mauloni
That’s awesome to hear Lee. Thank you so much! 🙂